To clean your vacuum cleaner for peak performance, start with these seven steps: know the importance of regular maintenance, gather your cleaning supplies, then unplug and prepare your vacuum. Next, clean the brush and filter, and empty the dust canister or bag. After that, disinfect and deep clean all components. Finally, make sure everything is dry before reassembling and store your vacuum properly. Regularly following these steps can enhance your vacuum's efficiency considerably. Want to find out details about each step? There's a lot more helpful information to explore!
Understand the Importance of Maintenance
Understanding the importance of maintenance for your vacuum cleaner is essential for its longevity and performance. Regular maintenance helps extend its lifespan by preventing wear and tear caused by dirt and debris buildup.
When you commit to cleaning your vacuum regularly, you enhance its suction power, ensuring effective dirt removal and preventing clogs that can hinder performance. Additionally, implementing time-saving strategies can help you integrate this maintenance into your busy schedule.
Routine care, like emptying the dust canister or replacing bags, is vital to maintaining ideal airflow and efficiency during cleaning. By keeping your vacuum clean, you're not just improving its functionality; you're also contributing to a healthier home environment.
Regularly maintaining your vacuum can greatly reduce allergens and bacteria that accumulate in the machine, ultimately improving indoor air quality.
On the flip side, failing to properly maintain your vacuum can lead to costly repairs and a decrease in cleaning efficiency. That's why establishing a consistent maintenance routine is important.
Gather Necessary Cleaning Supplies
Before you start cleaning your vacuum, you'll need to gather a few essential supplies.
It's important to invest in high-quality cleaning tools for efficient results, as they can greatly enhance your cleaning experience.
Grab scissors or a utility knife for cutting away hair from the brush, as well as warm water and dish soap for washing components.
Don't forget an all-purpose cleaner, microfiber cloth, and a towel to guarantee everything dries properly before putting your vacuum back together.
Professional tips for cleaning tools will also guide you in maintaining your vacuum for peak performance.
Essential Cleaning Tools
Gathering the right cleaning tools is essential for keeping your vacuum cleaner in top shape. Start by collecting a few key items: scissors or a utility knife to cut away any hair tangled in the brushes.
You'll also need a microfiber cloth for wiping down surfaces and a screwdriver for disassembling parts if necessary.
For cleaning detachable components, mix warm water with dishwashing soap. Make sure to rinse these parts thoroughly and let them dry completely before putting them back together.
A toothbrush can be invaluable for scrubbing hard-to-reach areas, especially around the brush roll and hose attachments.
To tackle dust and debris that's built up inside, grab a can of compressed air. This will help you blow out dirt from tight spaces and improve your vacuum's performance.
Finally, don't forget to include disinfectant spray to sanitize high-touch areas and components, ensuring a healthier cleaning environment.
With these essential cleaning tools at your side, you're well-equipped to give your vacuum the care it deserves, keeping it efficient and extending its lifespan.
Recommended Cleaning Products
To effectively clean your vacuum cleaner, you'll want to have a few recommended cleaning products on hand.
Start with some essential cleaning supplies like scissors or a utility knife to remove hair from brushes. This will help maintain peak performance.
You'll also need dishwashing soap mixed with warm soapy water for cleaning various surfaces inside and outside your vacuum.
A microfiber cloth is perfect for wiping down the vacuum's exterior surfaces. It prevents scratches while guaranteeing a thorough clean.
For disinfecting, grab an all-purpose cleaner, which helps maintain hygiene and reduces bacteria buildup on those exterior surfaces.
Once you've washed your vacuum parts, use warm water for rinsing to make sure no soap residue remains. This step is vital, as leftover soap can hinder your vacuum's performance.
Finally, keep a towel handy for drying the cleaned parts. This will help prevent moisture from causing mold or mildew inside your vacuum.
Preparation for Cleaning
Having the right supplies makes the cleaning process smoother and more efficient.
Start by gathering some essential tools for cleaning your vacuum. You'll need scissors to cut away hair and debris tangled in the brush rolls.
Next, fill a bowl with warm water mixed with dishwashing soap for rinsing various parts. A microfiber cloth is perfect for wiping down your vacuum's exterior, ensuring it looks great and is free from dust.
Keep a disinfectant spray handy to sanitize high-touch areas, especially if you use your vacuum in germ-prone locations like kitchens and bathrooms.
Have a towel ready for drying any cleaned parts—moisture can lead to mold and mildew if you reassemble components while damp.
Unplug and Prepare Your Vacuum
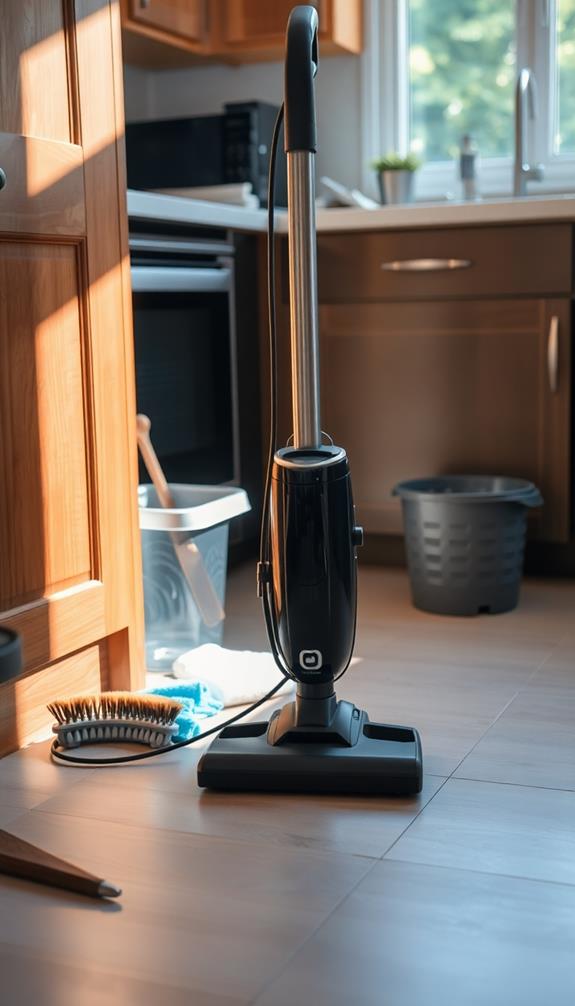
Unplugging your vacuum cleaner is the essential first step in guaranteeing a safe and effective cleaning process. This simple action prevents accidental activation while you're working on your vacuum.
Once you've done that, gather your cleaning supplies to streamline the preparation phase. Here's what you'll need:
- Scissors: For cutting away tangled hair or debris.
- Microfiber cloth: To wipe down surfaces and remove dust.
- Screwdriver: For any necessary disassembly.
- Garbage can: To easily dispose of dirt and debris.
Before you begin, it's also beneficial to check your vacuum's dust bin and filters for any maintenance needs, as proper regular maintenance of the vacuum cleaner can greatly enhance its performance.
Next, choose a well-ventilated space for your cleaning. Opening windows can help reduce dust exposure while you work, making the process more pleasant.
Additionally, check your vacuum's manual for specific instructions regarding disassembly and any precautions you should take. This guarantees you're following safety guidelines and won't accidentally damage your vacuum during the cleaning process.
Clean the Brush and Filter
To keep your vacuum running at its best, you need to regularly clean the brush roll and filter.
A well-maintained vacuum not only performs better but also enhances its lifespan, guaranteeing effective cleaning for various surfaces.
Start by removing any hair and debris from the brush, then check if the filter needs cleaning or replacing.
Remove Hair and Debris
Regular inspections of your vacuum cleaner's brush and filter can greatly enhance its performance. If you want to maintain peak performance, it's essential to remove hair and debris regularly.
Tangled hair can markedly reduce cleaning efficiency and suction power, so take these simple steps:
- Inspect the Vacuum Brush: Check for hair and debris wrapped around the rotating brush.
- Cut Away Tangled Hair: Use scissors or a utility knife to carefully cut away any hair without damaging the bristles.
- Clean the Filter: Follow the manufacturer's instructions to clean the filter. Clogged filters can impede airflow, decreasing suction by up to 50%.
- Empty the Dust Canister: When the dust canister reaches two-thirds full, empty it or replace the vacuum bag to prevent blockages.
Clean or Replace Filter
Cleaning or replacing your vacuum cleaner's filter is essential for maintaining strong suction and ideal performance.
Regularly checking and addressing the filter every month will help guarantee optimal airflow, preventing clogged filters that can greatly hinder your vacuum's suction power.
If your vacuum has washable filters, rinse them under cold water until clear, then let them air dry completely before reinserting. Non-washable filters, on the other hand, should be replaced according to the manufacturer's recommendations.
While inspecting the filter, look for visible debris and any signs of damage.
If you notice a damaged filter, replace it immediately to avoid decreased suction and potential air quality issues in your home.
Following these steps not only prolongs the life of your vacuum but also contributes to a healthier indoor environment by reducing allergens and dust recirculation.
Inspect Brush Roll Regularly
Every month, take a moment to inspect your vacuum's brush roll, as hair, fibers, and other debris can quickly accumulate and hinder its performance.
A clogged brush roll can reduce suction power, making your cleaning efforts less effective.
Here's how to keep it in top shape:
- Remove the Brush Roll: Take out the brush roll from your vacuum for easier access to clean it thoroughly.
- Cut Away Hair: Use scissors or a utility knife to carefully cut away any tangled hair or debris.
- Wash and Dry: Rinse the brush bars in cold water to remove remaining dirt, then let them dry for at least 24 hours before reassembling.
- Check the Vacuum Filter: Don't forget to clean your vacuum filter monthly, as a clogged filter can greatly impact overall performance.
Empty the Dust Canister or Bag
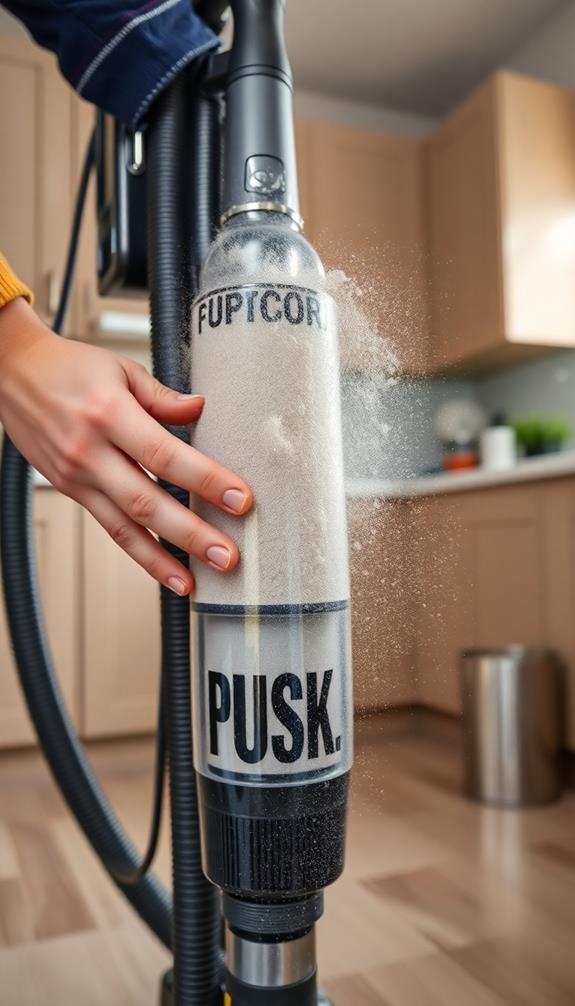
Maintaining your vacuum's performance is vital, and one of the simplest ways to do this is by emptying the dust canister or replacing the bag regularly. For bagless models, you should empty the dust canister after every use, while bagged vacuums need a bag replacement every three months. A full dust canister or bag can lead to decreased airflow, reducing your vacuum's efficiency and making it push dirt around instead of removing it.
Regular vacuuming is essential for keeping your floors clean and enhancing indoor air quality, as noted in cleaning frequency recommendations.
To empty the dust canister, remove it from the vacuum, open the lid over a trash can, and dispose of the contents. Make sure to clean any residue with a damp cloth if necessary.
For bagged vacuums, keep an eye on the indicator light that signals when the bag is full. Inspect the bag compartment regularly to prevent performance issues.
After emptying the dust canister or replacing the bag, always sanitize the dust compartment. This step helps prevent odors and bacteria from building up, ensuring your vacuum maintains ideal performance and stays fresh for future use.
Taking these simple steps will greatly enhance your vacuum's suction power and longevity.
Disinfect and Deep Clean Components
Disinfecting your vacuum cleaner's components is vital for keeping it hygienic, especially in areas prone to germs like kitchens and bathrooms.
By regularly deep cleaning these components, you not only improve suction power but also extend the lifespan of your vacuum. Additionally, maintaining a clean environment can reduce sick days and boost productivity in your home, reflecting the benefits of a hygienic space improved cleanliness benefits.
Here's how to effectively disinfect and deep clean:
- Rinse attachments: Start by rinsing your vacuum's attachments with hot water to remove loose debris.
- Prepare disinfectant: Mix 1 tablespoon of bleach with water in a spray bottle. Spray this solution on the components to disinfect them.
- Use compressed air: Clear out hard-to-reach areas to guarantee all surfaces are free from dust and debris.
- Air dry completely: Allow all disinfected parts to air dry to prevent moisture buildup, which can lead to mold and mildew.
Regular cleaning of your filters and brush rolls is vital as it maintains peak suction power.
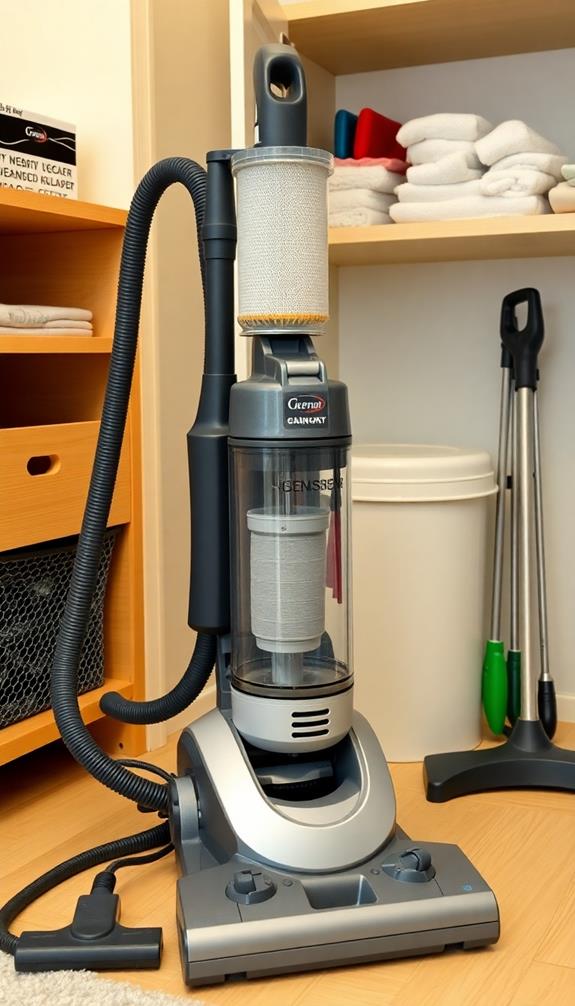
Reassemble and Store Properly
Once you've thoroughly cleaned and disinfected your vacuum's components, it's time to reassemble and store them properly. First, verify all parts are completely dry to prevent mold growth and mechanical issues.
To maintain peak performance, consider organizing your cleaning supplies for easy access, as quick cleaning tasks can make your overall cleaning routine more efficient. Then, follow the manufacturer's instructions carefully as you reassemble each component. This step is essential for keeping everything secure and maintaining peak performance.
Once reassembled, choose a dry, cool area to store your vacuum. Humidity and temperature fluctuations can lead to damage, so keeping it in a stable environment is key.
Make sure to designate a specific storage space for the vacuum and its attachments. An organized storage area makes it easy to find what you need and prevents the loss of parts.
Conclusion
By taking just a little time to clean your vacuum, you're breathing new life into it, like a gardener nurturing a wilting plant back to vibrancy. A well-maintained vacuum not only improves performance but also extends its lifespan, saving you money in the long run. So, roll up your sleeves and immerse yourself in those seven simple steps. Your vacuum will thank you, and your home will sparkle like the sun breaking through a cloudy sky.