Cleaning your shower like a pro is simple! Start by identifying stains and gathering essential supplies like a reliable cleaner and scrubbing tools. Remove all personal items and apply your chosen cleaning solution. Let it soak for 5-10 minutes to tackle tough grime. Then, scrub all surfaces thoroughly, rinse well, and dry with a microfiber cloth to avoid spots. Don't forget to clean the fixtures and address grout lines for a polished look. Finally, create a regular cleaning schedule to maintain that fresh shower feel. Stick around to discover even more tips for a sparkling clean bathroom!
Identify Stains Present
Before you jump into cleaning your shower, it's essential to identify the stains present, as this will guide your choice of cleaning methods.
Start by examining any hard water stains, which often appear as chalky white deposits. These stains result from calcium and magnesium minerals in the water, and you might also spot rust stains from iron.
Additionally, using non-toxic cleaning solutions can effectively tackle these stains without compromising your health or the environment.
Next, look for signs of mildew and mold. These typically manifest as slimy surfaces and colorful stains that range from black to pink.
They thrive in damp environments, so if you notice any, you'll need specific cleaning agents designed to combat them.
Gather Essential Supplies
Gathering essential supplies is a crucial step in effectively cleaning your shower. To get started, you'll want to verify you have the right cleaning tools on hand. Using a reliable disinfectant, such as Seventh Generation or Lysol Spray, can enhance your cleaning routine by effectively eliminating germs and bacteria.
Here's a quick list of what you'll need:
- Cleaner: Choose a suitable shower cleaner, like a DIY mix of equal parts distilled white vinegar and water, or a commercial option like Lysol Power Foaming Bathroom Cleaner.
- Scrubbing Tools: Grab an electric spin scrubber with removable brush heads, a grout cleaning brush, and some microfiber cloths for wiping down surfaces.
- Accessories: Don't forget a squeegee for drying your shower and a drawstring mesh bag for storing all your cleaning tools.
Additionally, protect your hands with rubber gloves, especially when using detergents and degreasers.
You'll also want a vacuum or drain snake to tackle any hair clogs in the shower drain. This preparation sets you up for success, allowing you to clean efficiently and effectively.
With your supplies gathered, you're one step closer to a sparkling clean shower!
Remove Personal Items
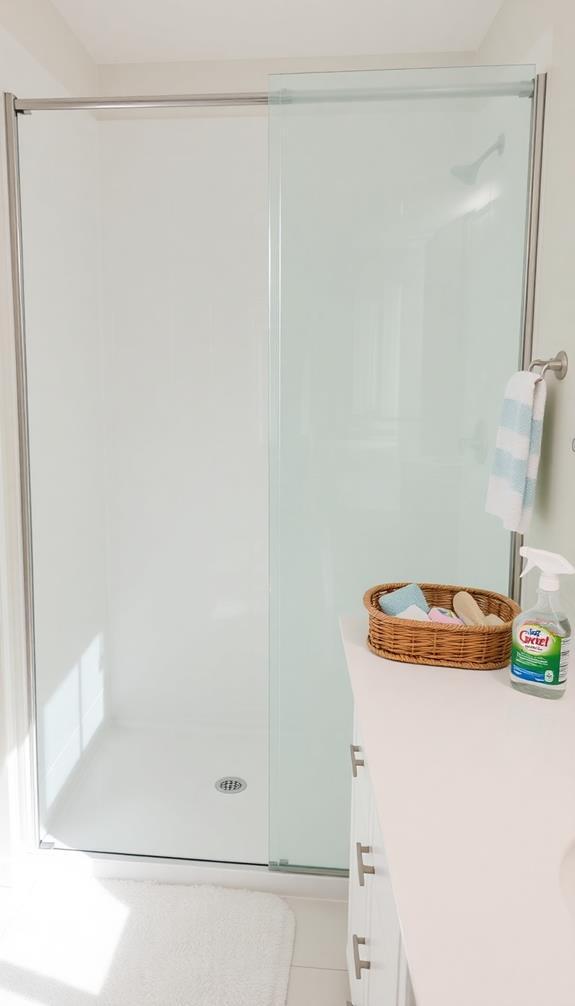
To start cleaning your shower effectively, you'll want to remove all personal items from the space.
Begin by taking out personal-care items like toiletries, shampoo bottles, and any accessories. This creates an unobstructed cleaning space, allowing you to tackle dirt and grime without hindrance. Additionally, consider using eco-friendly cleaning solutions, such as a vinegar soak for faucets, which can help break down any build-up you might encounter.
Next, clear away decorative items, such as candles or plants, to prevent water damage and guarantee you can clean all surfaces thoroughly.
While you're at it, check for any shower mats or towels and remove them to avoid dampness during the cleaning process.
This is also a great time to recycle any empty containers and wipe down the remaining items with hot water to eliminate residue before placing them back after cleaning.
Finally, don't forget to inspect the drain. Remove any visible clogs or hair, as this guarantees peak drainage during your cleaning routine.
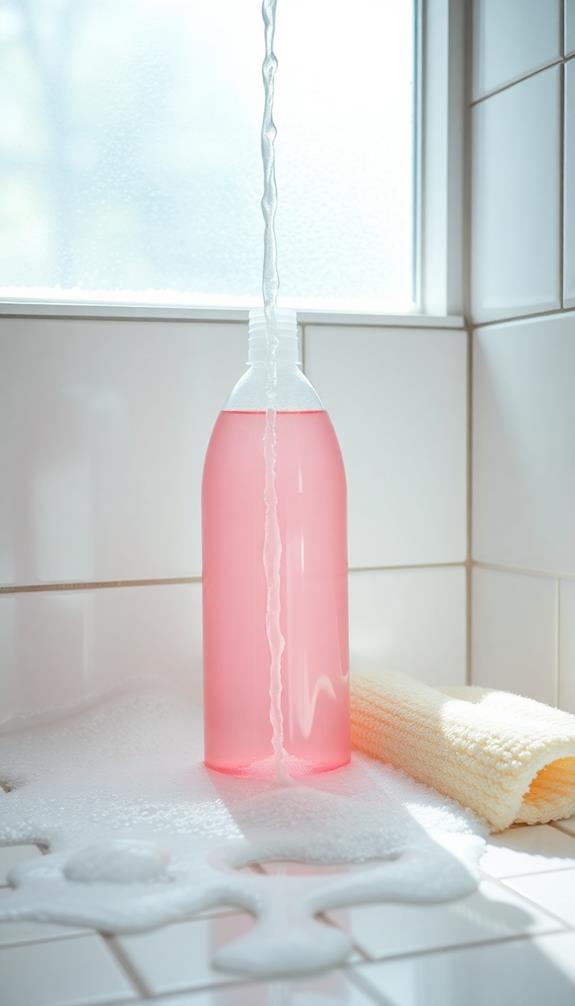
Apply Cleaning Solution
Applying the cleaning solution is an important step in transforming your shower into a sparkling oasis. Start by choosing a suitable cleaning agent—either a homemade solution of equal parts distilled white vinegar and water or a commercial cleaner like Lysol Power Foaming Bathroom Cleaner. For a more eco-friendly option, consider using natural cleaning agents like baking soda or lemon juice mixed with water.
Once you've got that ready, it's time to spray!
- Generously apply the cleaning solution to all shower surfaces, guaranteeing even coverage.
- Pay special attention to areas plagued by soap scum and mildew, as these often require more product.
- For tough stains, mix baking soda, hydrogen peroxide, and dish soap, applying this DIY grout cleaner directly to the affected areas.
Let the cleaning solution sit for at least 5-10 minutes to optimize its effectiveness. This waiting period allows it to break down the grime, making it easier to clean.
After the time's up, grab your shower head or a bucket and rinse all surfaces thoroughly from top to bottom. This step is vital to remove any lingering residue and guarantee your shower shines.
You'll be one step closer to enjoying your refreshed oasis!
Allow Cleaner to Soak
Allowing the cleaner to soak for about 5-10 minutes greatly enhances its effectiveness. This soaking time lets the cleaner penetrate and break down stubborn soap scum, mildew, and hard water stains.
For ideal results, make certain the cleaning agent stays wet on all surfaces during this time. This maximizes the chemical reaction needed for thorough cleaning and is especially important when using disinfectants that target harmful bacteria and mold.
When using a homemade cleaner, like a mixture of equal parts distilled white vinegar and water, soaking can greatly improve stain removal, as effective disinfecting solutions guarantee a cleaner and healthier shower environment.
After you spray the cleaner on all surfaces, leave it undisturbed to work its magic. This step is essential, especially in high-traffic showers where soap scum and mildew accumulate quickly.
Scrub Surfaces Thoroughly
A clean shower starts with a thorough scrubbing of all surfaces. Properly disinfecting your shower is essential for maintaining a hygienic bathing environment, as it helps to prevent the buildup of harmful bacteria, mold, and mildew importance of bathtub disinfection.
Begin by using a suitable cleaning agent, like a mixture of equal parts distilled white vinegar and Dawn dish soap. Spray it generously on all surfaces and let it penetrate stubborn buildup for 5-10 minutes.
Once the cleaner has soaked in, it's time to scrub. Use an electric spin scrubber with interchangeable brush heads to make the job easier and more effective.
Here's how to tackle the scrubbing process:
- Large Areas: Use a flat brush for the walls and floor to quickly cover more ground.
- Corners and Edges: Switch to a corner brush to get into tight spaces, ensuring you don't miss any grime.
- Tough Stains: For persistent stains, apply extra cleaner directly and scrub firmly, focusing on one section at a time.
Don't forget to pay special attention to the grout, as it can hold onto soap scum and mildew.
Once you've scrubbed thoroughly, your shower will be on its way to looking pristine and clean!
Rinse All Areas
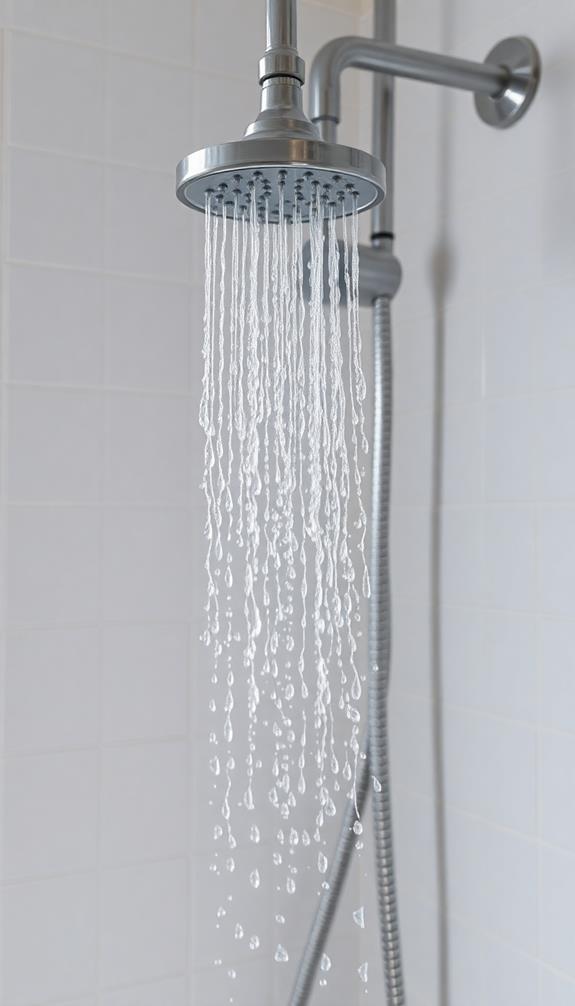
After scrubbing all surfaces of your shower, it's time to rinse everything down to remove any lingering cleaning solution and debris. Utilizing natural sanitizing solutions can help guarantee that your shower remains free from harmful bacteria.
Begin at the top and work your way down, ensuring that any cleaning solutions flow downward instead of settling on already cleaned areas. Use a handheld showerhead or a bucket to thoroughly spray all shower surfaces, making sure no residue is left behind. This prevents streaks and keeps your shower looking fresh.
Don't forget to rinse your fixtures, including faucets and showerheads, to eliminate soap scum or cleaner buildup. Pay special attention to corners and crevices, as these areas often harbor soap scum and can stain if not rinsed thoroughly. Using clean water is essential here to guarantee all remnants of cleaning products are washed away.
After rinsing, you may want to grab a squeegee or microfiber cloth. This step helps dry the surfaces, reducing the risk of water spots and inhibiting mold growth.
With a thorough rinse, your shower will be cleaner and ready for use, keeping it sparkling and inviting for the next shower session.
Dry With Microfiber Cloth
To keep your shower looking its best, drying surfaces with a microfiber cloth right after rinsing is essential. This simple step can prevent pesky water spots and keep your shower surfaces streak-free and shiny.
Additionally, incorporating regular cleaning practices, like using effective cleaning tools and techniques, can further enhance your results. Plus, using a microfiber cloth is an eco-friendly choice that helps you maintain a clean shower without harsh chemicals.
Here's how to do it right:
- Choose a clean microfiber cloth: Always use a fresh cloth for each area to effectively trap dirt and grime without redistributing it.
- Focus on key areas: Pay attention to shower doors, tiles, and fixtures—these spots often accumulate soap scum and mildew the fastest.
- Dry immediately: After rinsing, dry surfaces promptly to minimize water spots and extend the time between deep cleanings.
Address Grout and Tough Stains
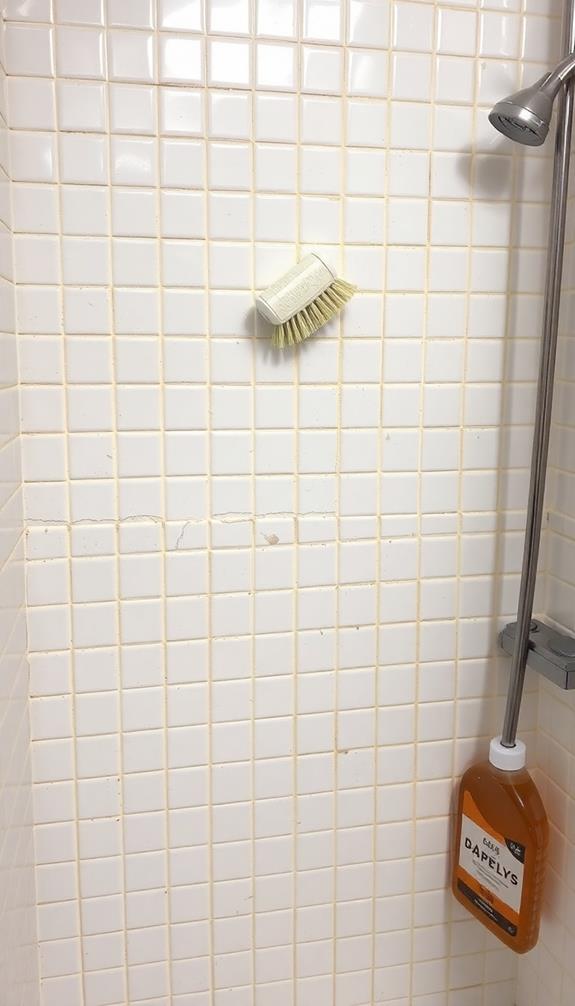
To keep your shower looking fresh, you need to tackle grout and tough stains regularly.
Start by using a simple DIY cleaning solution to brighten stained grout, and don't forget to scrub those pesky marks with a reliable brush.
Effective Grout Cleaning Techniques
Grimy grout can turn an otherwise clean shower into an eyesore, but tackling those tough stains doesn't have to be an intimidating task. With a bit of elbow grease and the right techniques, you can restore your grout to its former glory.
Here's how to effectively clean it:
- DIY Grout Cleaner: Mix baking soda, hydrogen peroxide, and dish soap to create a potent solution. Apply it to the stained areas and let it sit for 10 minutes. This helps break down mold and mildew.
- Scrub Away Stains: Using a grout brush or an old toothbrush, scrub the grout lines vigorously, focusing on discolored areas. This is where you'll lift most stains effectively.
- Final Touch: After scrubbing, wipe the area clean with wet cleaning cloths to remove any residue. This guarantees a spotless finish and keeps your grout looking fresh.
Regularly cleaning the shower and incorporating these techniques into your monthly routine will prevent long-term staining, making your shower a more inviting space.
Removing Tough Stains
Tackling tough stains in your shower can feel overwhelming, but with the right approach, you can restore its shine. Start by focusing on the grout, which often traps soap residue and becomes a breeding ground for mold or mildew.
A cleaning expert's tip is to mix baking soda, hydrogen peroxide, and dish soap. Apply this mixture to stained areas, let it sit for about 10 minutes, then scrub with a grout brush or an old toothbrush.
For particularly stubborn stains, consider using a flat brush on your electric spin scrubber for targeted grout cleaning. If you encounter tough mildew stains, apply a commercial heavy-duty mold remover or a DIY bleach solution—just one part bleach to two parts water. Allow it to sit for 10 minutes before rinsing thoroughly.
To prevent future stains, establish a regular cleaning routine, ideally once a month for high-traffic showers.
Don't forget to reseal your grout every six months to protect against moisture and bacteria accumulation. By following these steps for removing tough stains, you'll make shower cleaning a breeze and keep your bathroom looking fresh and inviting.
Maintain Regular Cleaning Schedule
Establishing a regular cleaning schedule is vital for keeping your shower fresh and free from soap scum and mildew. Aim to clean your shower at least every other week, especially in high-traffic areas. A quick wipe-down after each use can extend the time between deep cleanings, making bi-weekly cleanings more manageable.
Here's a simple plan to follow:
- Weekly: Give your shower walls a quick wipe-down with a squeegee or cloth to remove excess moisture.
- Bi-weekly: Use your favorite tools and products to deep clean all parts of the shower, focusing on grout lines to inhibit mildew development.
- Monthly: Wash shower curtains and check drain catchers to prevent hair clogs and mold growth.
These steps are essential for regular maintenance and will help you maintain a sparkling clean shower.
Additionally, improving ventilation through an exhaust fan or opening windows can greatly reduce moisture, making it easier to keep your shower clean.
Conclusion
With just a little effort, you can transform your shower from a neglected corner into a sparkling oasis. By following these easy steps, you'll turn cleaning into a breeze rather than a chore. Remember, a clean shower isn't just about looks—it's about creating an invigorating space where you can wash away the day's worries. So grab your supplies and plunge in; you're just a few steps away from a shower that shines like a diamond!