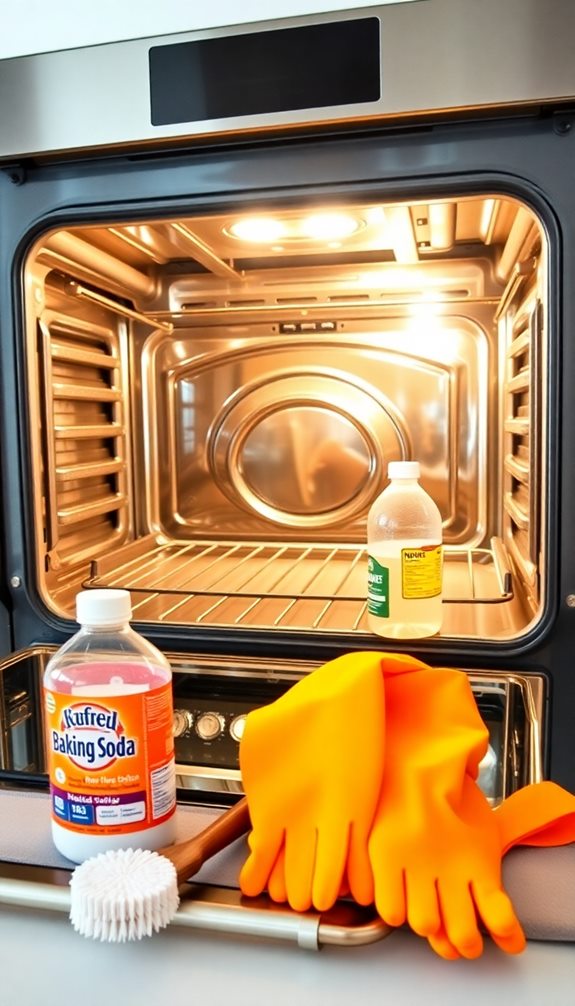
Cleaning your oven naturally is simple and effective. First, remove all items and racks. Mix half a cup of baking soda with warm water to form a paste. Spread the paste evenly over the interior surfaces and let it sit overnight. After 12 hours, wipe away the dried mixture with a damp cloth. For stubborn spots, use a plastic spatula. Spray some vinegar to create a foaming reaction, then wipe it clean. Finally, replace the racks and check for streaks. Regular maintenance can keep your oven in top shape, and there's more valuable info ahead.
Natural Cleaning Overview
Natural oven cleaning methods offer a safe and effective alternative to harsh chemical cleaners. You can easily tackle grease and grime using common household items like baking soda and vinegar.
These natural cleaning methods aren't only efficient but also minimize health risks associated with toxic fumes emitted by commercial cleaners. By utilizing eco-friendly options, you contribute to a healthier environment for your family and pets.
The combination of baking soda, a natural alkali, and vinegar, a natural acid, creates a powerful solution that lifts stubborn stains without the need for harmful chemicals. Instead of relying on self-cleaning oven functions that may produce intense odors or damage older ovens, you can opt for these safe alternatives that enhance your oven's performance and lifespan.
Regularly using these natural cleaning techniques can prevent the buildup of grime, making your oven cleaning efforts much less intensive. By incorporating these household items into your routine, you're promoting a healthier home environment and reducing your exposure to the toxic substances often found in chemical cleaners.
Required Materials
To effectively clean your oven using natural methods, you'll need a few essential materials. Start with baking soda, the primary cleaning agent due to its natural alkali properties, which helps break down grime and stains.
For enhanced cleaning power, consider using eco-friendly alternatives like vinegar and lemon juice, which provide natural antibacterial properties and a fresh scent. You'll also need water to mix with the baking soda, creating a paste that can be easily applied to the oven surfaces.
Next, grab a pair of rubber gloves. Wearing these will protect your hands from irritation while handling the cleaning materials.
A damp dish cloth is also necessary for wiping surfaces clean before and after applying the baking soda paste, ensuring you start with a clean slate.
Cleaning Process Steps

To kick off the cleaning process, you'll want to prepare your oven by removing all racks and items, creating a clear area to work in.
Guaranteeing proper ventilation by opening windows or using an exhaust fan will help maintain a safe environment while you clean.
Next, you'll apply the baking soda paste carefully to the oven surfaces, steering clear of any heating elements.
This method guarantees you tackle the grime effectively while keeping your oven safe, and using a gentle cleaning method can enhance the effectiveness of your efforts.
Preparation for Cleaning
Before diving into the oven cleaning process, you'll want to set yourself up for success. A little preparation can make a significant difference in how effectively you clean your oven.
Start by following these essential steps:
- Remove Items: Take out all oven racks and any other items inside. This creates a clear workspace for cleaning.
- Cool Down: Verify your oven is completely cool before you begin. This prevents burns and makes handling cleaning materials safer.
- Gather Materials: Collect all the necessary cleaning supplies, including baking soda, warm water, rubber gloves, white vinegar, and a damp cloth.
Next, prepare your baking soda mixture by combining ½ cup of baking soda with a few tablespoons of warm water until it reaches a spreadable paste.
Once ready, apply this paste evenly on the interior surfaces of your oven, making sure to avoid any heating elements. Let this mixture sit overnight or for at least 12 hours for maximum effectiveness against grease and residue.
With these preparations in place, you'll be ready to tackle the cleaning process head-on!
Application Technique
With your oven prepped and the baking soda paste ready, it's time to apply the mixture effectively.
First, make sure you've emptied the oven of racks and any other items so you can clean all surfaces thoroughly.
Take your baking soda paste, made from ½ cup of baking soda mixed with a few tablespoons of water, and apply it evenly across the interior surfaces of the oven. Be careful to avoid the heating elements and thermostat to prevent damage.
Once you've coated the surfaces, allow the paste to sit for at least 12 hours or overnight. This waiting period is important, as it gives the baking soda time to break down grime and stains.
After the paste has done its work, grab a damp cloth and begin to wipe away the dried mixture. For any stubborn residue, don't hesitate to use a plastic or silicone spatula to assist in removing it effectively.
This simple yet powerful technique will leave your oven clean and ready for your next culinary adventure!
Wiping and Rinsing
Once you've let the baking soda paste work its magic, it's time to wipe off the residue.
Begin by using a damp cloth to carefully remove the dried paste, and for any stubborn spots, a plastic spatula can help without harming your oven.
To enhance your cleaning experience, consider incorporating recommended cleaning products for tougher residues.
To finish up, spray some white vinegar, wipe again, and rinse with water for a sparkling clean oven.
Effective Wiping Techniques
After allowing the baking soda paste to sit for at least 12 hours, it's time to tackle the wiping process.
Start by using a damp cloth to remove the dried paste from the oven surfaces. For any stubborn residues, grab a plastic or silicone spatula to gently scrape away the remaining baking soda without damaging the oven's interior.
To enhance your cleaning, follow these steps:
- Activate a Foaming Reaction: Spray white vinegar onto areas with leftover paste. This will create a foaming reaction that helps lift away the residual baking soda.
- Wipe Away the Foam: Use your damp cloth to wipe away the foamy residue, ensuring you get every corner of the oven.
- Achieve a Streak-Free Finish: If needed, repeat the process with water or vinegar for a perfect, streak-free finish.
Rinsing for Residue Removal
To guarantee your oven is completely clean, rinsing off any remaining residue is essential. Start by using a damp cloth to wipe off the dried baking soda paste, which should have been sitting for at least 12 hours.
If you encounter stubborn residue, a plastic or silicone spatula will help you scrape it off effectively.
Next, spray white vinegar onto the leftover baking soda residue. This will initiate a foaming reaction that aids in loosening grime, making it easier to remove.
As the mixture foams, take your damp cloth and wipe away the foamy residue. Repeat this process until the oven surfaces are clean and streak-free.
For that extra shine, consider rinsing again with water or more vinegar. This final step guarantees a shiny finish on all surfaces, completing your cleaning process.
Final Touches

Cleaning your oven is almost complete, and it's time for the final touches that will enhance its shine and functionality.
Start by carefully replacing the cleaned oven racks and any other items you removed. Next, verify all surfaces, including the interior and glass door, are free of streaks. Use a damp cloth to wipe down these areas, then follow up with a dry cloth for buffing to achieve that polished finish.
To maintain a clean oven with minimal scrubbing, consider implementing some quick solutions that can save you time and energy during future cleanings.
Here are three key steps to complete your cleaning process:
- Inspect for Residue: Double-check corners and edges for any leftover grime.
- Apply Nonstick Oven Liners: Consider using these to catch spills, which will help minimize the need for a deep clean in the future.
- Schedule Regular Maintenance: Plan to wipe down your oven seasonally or whenever you notice residue building up. This keeps it in top shape and verifies a healthier cooking environment.
With these final touches, you'll have a thoroughly cleaned oven that's ready for your next culinary adventure!
Cleaning Frequency Recommendations
Maintaining a clean oven is all about establishing a regular cleaning routine that suits your cooking habits. If you're an avid baker, aim for a deep clean every three months to keep your oven performing at its best and to guarantee hygiene.
Regular cleaning not only improves oven efficiency but also prolongs its lifespan, making it a worthwhile investment in your kitchen a sparkling clean oven. For casual users, a cleaning frequency of every six months to a year is generally sufficient, but this can vary based on how often you cook and the amount of oven residue you accumulate.
To minimize the need for deep cleans, incorporate regular maintenance into your routine. Monthly wipe downs with a damp cloth and dish soap can do wonders in preventing buildup.
If you notice significant residue after cooking, tackle it immediately—this will save you time and effort during future cleanings.
For those who frequently use their ovens, consider weekly cleanings to manage any spills or splatters effectively.
Adjust your cleaning habits based on how often you use your oven, guaranteeing it stays clean and ready for your next culinary adventure. Regular attention to your oven not only promotes hygiene but also enhances its overall performance.
Conclusion
Cleaning your oven naturally not only saves you money but also protects your family from harsh chemicals. Did you know that over 70% of commercial oven cleaners contain toxic ingredients? By following this simple, step-by-step guide, you can achieve a sparkling clean oven with just a few everyday items. Make natural cleaning a regular part of your routine, and enjoy a healthier kitchen environment. Plus, your oven will thank you for the gentle care!