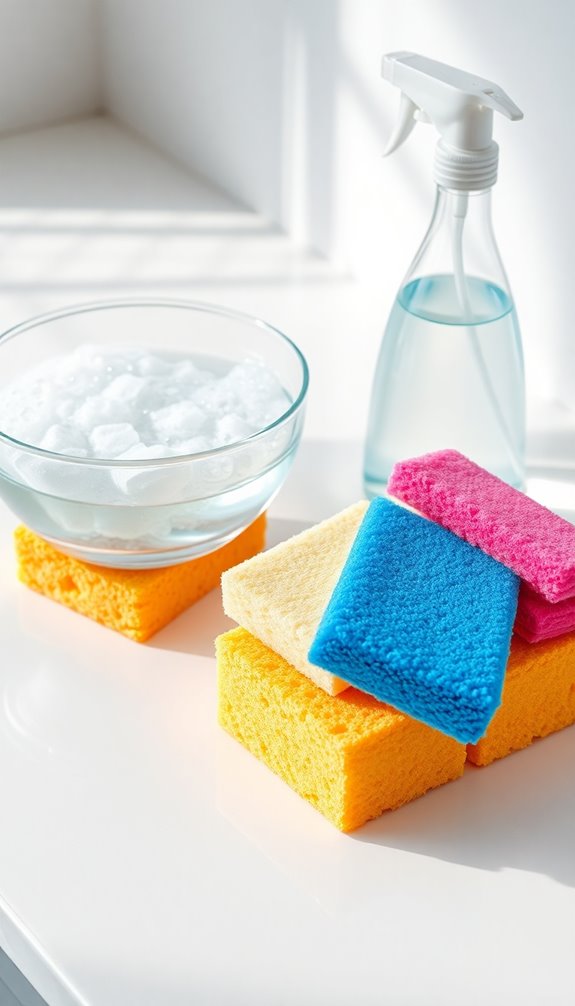
Cleaning sponges are essential in your kitchen, but they can quickly harbor harmful bacteria if not properly sanitized. To keep them safe, rinse and wring out sponges after each use, and sanitize them regularly. You can use methods like microwaving, soaking in vinegar, or running them through the dishwasher. Be sure to replace sponges every 1 to 2 weeks, especially if you notice any odors or signs of wear. Avoid common mistakes, like not thoroughly cleaning used sponges. Following these best practices will guarantee your kitchen stays hygienic and healthy, and there's more to explore on this important topic.
Importance of Sponge Sanitization
When it comes to kitchen hygiene, sanitizing your sponges is fundamental. Kitchen sponges can harbor harmful bacteria, mold, and yeast, making regular cleaning essential. The USDA recommends you sanitize your sponges every few days to eliminate up to 99.9999% of microbes. You can easily do this by microwaving or running them through the dishwasher. Regular use of microfiber cloths can enhance cleaning efficiency in your kitchen. Additionally, regular disinfection helps to reduce the risk of illness and infections associated with contaminated sponges.
Studies show that used sponges can contain more bacteria than toilet seats, emphasizing the significance of consistent cleaning practices. Unclean sponges can lead to cross-contamination, increasing the risk of foodborne illnesses, especially for vulnerable populations like children and the elderly.
To maintain a safe kitchen environment, it's important to replace sponges every 1 to 2 weeks, or immediately if you notice any odors. A clean sponge is your first line of defense against harmful bacteria. Regular use of non-toxic cleaners can further enhance your kitchen's hygiene by minimizing the risk of harmful chemicals.
Use a disinfectant during your cleaning routine to maximize effectiveness. By prioritizing the sanitization and replacement of your sponges, you're taking proactive steps to guarantee your kitchen remains a safe space for food preparation and family gatherings.
Don't overlook this simple yet fundamental aspect of kitchen hygiene!
Effective Cleaning Methods
Maintaining a hygienic kitchen goes beyond just replacing your sponges; knowing how to clean them effectively is equally crucial. You have several methods at your disposal to sanitize a sponge and keep bacteria at bay.
One effective technique is the microwave method, where you soak the sponge in water and microwave it on high for one minute. This can kill up to 99.9999% of microbes. Regularly using this method can help maintain a chemical-free sanitization environment in your kitchen. Additionally, it is important to regularly disinfect countertops after each use to minimize contamination risks, promoting a cleaner kitchen environment.
Alternatively, using a dishwasher is highly effective. Place your sponge on the top rack and run the hottest, longest cycle to eliminate up to 99.9998% of bacteria.
If you prefer a DIY approach, a bleach solution—mixing one-quarter to one-half teaspoon of bleach per quart of warm water—can sanitize your sponge in just one minute, killing 99.9% of tested bacteria strains.
Vinegar also serves as a natural disinfectant; soak your sponge in full-strength vinegar for five minutes to reduce bacteria by 99.6%. Additionally, incorporating eco-friendly cleaning agents can provide a sustainable option for those looking to maintain a clean kitchen without harsh chemicals.
Best Practices for Sponge Care

To keep your kitchen sponges in top condition, make it a habit to regularly sanitize and care for them. Start by rinsing and wringing out your sponge after each use to prevent food debris buildup and bacterial growth.
You can sanitize your sponge effectively by microwaving it for one minute after soaking it in water, killing up to 99.9999% of microbes. Alternatively, consider using vinegar for five minutes or a bleach solution, as bleach is particularly effective and can kill 99.9% of bacteria strains when soaked properly. Regular cleaning of your sponges is essential to maintain a clean and hygienic bathing environment. Using vinegar in your cleaning routine can also help eliminate odors from your sponge.
Remember to clean a kitchen sponge regularly, and don't forget to use the hottest and longest cycle in your dishwasher—just make certain to place sponges securely on the top rack. Additionally, using natural cleaning products can help reduce exposure to harmful chemicals while keeping your sponges fresh.
It's essential to replace sponges every 1 to 2 weeks, and you should discard them immediately if you notice any odors, as that's a sign of high bacteria levels.
Common Mistakes to Avoid
In your quest for a clean kitchen, avoiding common mistakes with sponges can make a significant difference in hygiene. One of the biggest mistakes to avoid is simply rinsing a dirty sponge. While it seems like a quick fix, it's crucial to clean a sponge thoroughly using methods like microwaving or running it through the dishwasher. This guarantees you effectively remove harmful bacteria. Regularly cleaning your sponges can be part of your 10-minute tidy-up routine to maintain a hygienic kitchen. Additionally, make sure to incorporate natural degreasers into your cleaning regimen to help combat kitchen grease effectively.
Another pitfall is using harsh chemicals improperly. These can damage your sponge and leave residues that contaminate surfaces and food. Always follow recommended guidelines for dilution.
Additionally, failing to dry your sponge properly after cleaning creates an inviting environment for bacteria to thrive. Regularly incorporating vinegar cleaning into your sponge maintenance routine can also help eliminate bacteria effectively.
Don't overlook the importance of replacing your sponge regularly. If it develops odors or shows signs of wear, it's time to remove the sponge and replace it. Ignoring these unpleasant smells is a mistake, as they signal high bacterial levels.
Finally, remember to use clean sponges daily to maintain kitchen cleanliness. By avoiding these common mistakes, you can guarantee that your sponges remain effective natural disinfectants, keeping your kitchen safe and hygienic.
Frequency of Cleaning and Replacement

Keeping your kitchen sponges in peak condition is essential for ideal hygiene. To maintain optimal cleanliness and reduce bacteria growth, it's critical to follow a regular cleaning and replacement schedule.
Here are three key practices to keep in mind:
- Clean your sponges weekly: This helps to sanitize them and keeps bacteria at bay. You can use the microwave or dishwasher for effective cleaning. Regular cleaning contributes to a healthier home environment(#), and using a disinfectant spray on your sponge can enhance its sanitation.
- Replace sponges every 1 to 2 weeks: If you notice any signs of odor or damage, don't hesitate to replace them sooner. A worn-out sponge can harbor harmful germs.
- Deep clean every few days: This practice is crucial for preventing sponges from becoming breeding grounds for bacteria. Regularly monitoring their condition will help you catch any wear or fraying early. Additionally, incorporating time-saving strategies into your cleaning routine can make sponge maintenance even more efficient.
Conclusion
To sum up, keeping your sponges clean and sanitized isn't just about hygiene; it's about ensuring a safe environment for your family. Imagine wiping down your kitchen counters with a sponge that's teeming with germs—wouldn't that make you cringe? By following the best practices for sponge care and avoiding common mistakes, you can keep your cleaning tools effective and your home healthy. Remember, a little effort goes a long way in maintaining cleanliness!