To clean grout with baking soda, mix ½ cup of baking soda, ¼ cup of hydrogen peroxide, and a teaspoon of dish soap into a paste. Spread it over the grout lines and let it sit for about 10 minutes. Use a stiff-bristled brush to scrub in circular motions, focusing on tough stains. Rinse thoroughly with warm water to remove any residue. Regular upkeep will keep your grout looking fresh and clean, so discover more tips for maintaining it effectively.
Understanding the Benefits of Baking Soda for Grout Cleaning
When you think about cleaning grout, baking soda should be at the top of your list. This natural, non-toxic abrasive tackles tough stains without harsh chemicals, making it safe for homes with kids and pets. Additionally, using natural cleaning agents like baking soda and vinegar not only promotes safety but also enhances the effectiveness of your cleaning routine.
By mixing baking soda with water or vinegar, you create a powerful cleaning paste that penetrates and breaks down grime effectively. Its alkaline properties not only neutralize odors but also provide a disinfecting effect that enhances your tiled surfaces' cleanliness. Regular use of baking soda helps prevent buildup, ensuring your grout stays bright and visually appealing over time. Plus, it's environmentally friendly, making it an excellent choice for those who care about the ecosystem. Additionally, using a homemade paste made from baking soda and hydrogen peroxide can significantly improve your grout cleaning results. This is due to the antimicrobial properties of vinegar, which enhances the cleaning power of your mixture.
Switch to baking soda for a safer, effective grout cleaning solution!
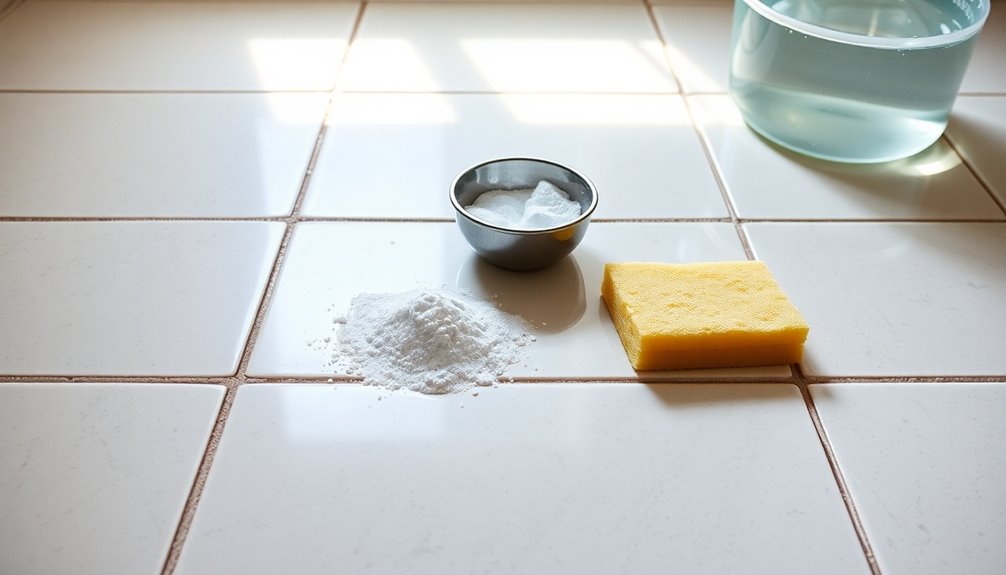
Preparing Your DIY Grout Cleaner
To prepare your DIY grout cleaner, mix ½ cup of baking soda with ¼ cup of hydrogen peroxide and 1 teaspoon of dish soap in a small bowl. Stir until the mixture forms a paste-like consistency that easily adheres to grout lines. Confirm to use fresh ingredients for maximum effectiveness.
- A smooth, creamy paste
- Bright white baking soda
- Clear, bubbly hydrogen peroxide
- A few drops of fragrant dish soap
- The satisfying texture of a well-mixed mixture
For larger areas, scale the ingredients while keeping the same ratio. Remember to test the cleaner on a small, inconspicuous area before widespread application to verify it won't damage the tiles or grout color. Additionally, using natural cleaning solutions can enhance the effectiveness of your cleaning routine while being eco-friendly. Eco-friendly methods can help maintain a hygienic space without compromising health. Regularly utilizing non-toxic cleaners helps maintain a hygienic space without compromising health.
Applying the Baking Soda Mixture to Grout
To start applying the baking soda mixture, combine one part water with three parts baking soda to create a thick paste. Once you have your paste, spread it over the grout lines using your fingers or a brush for even coverage. This natural cleaning solution is gentle on tile surfaces and effective at removing tough stains. Additionally, using eco-friendly cleaning products can enhance your cleaning routine while minimizing environmental impact. After that, let it sit for about 10 minutes to tackle those tough stains effectively. Regular cleaning with natural cleaning solutions can help maintain the appearance of grout over time.
Mixing Ingredients Effectively
Mixing the baking soda solution effectively is essential for cleaning grout. Start by combining 1 part water with 3 parts baking soda to form a thick paste. This paste adheres well to the grout lines, ensuring maximum impact.
Here's how to prepare your cleaning solution:
- Measure your baking soda and water
- Mix equal parts in a bowl
- Stir until you achieve a thick consistency
- Apply the paste directly on the grout
- Let it sit for 10-15 minutes
For enhanced cleaning power, you can also spray an equal parts vinegar and water solution over the paste to create a fizzing reaction, which helps dislodge dirt and grime before you scrub the grout effectively.
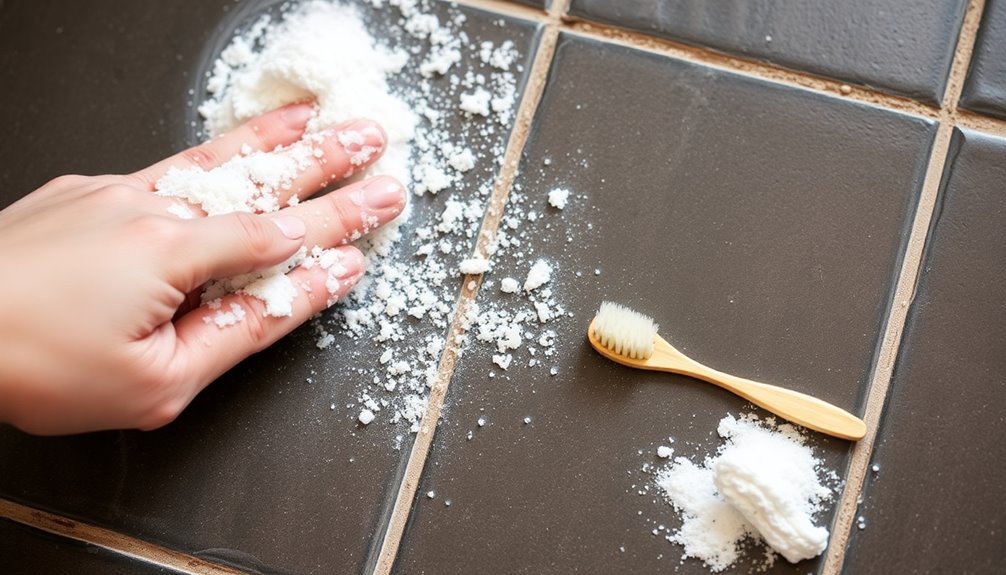
Applying and Scrubbing Technique
Once you've prepared your baking soda paste, it's time to apply it effectively to the grout lines.
Use your fingers or a scrub brush to apply the paste directly onto the grout, ensuring you cover each line thoroughly. Let the baking soda sit for 5 to 10 minutes, allowing it to penetrate and lift stains.
Once the time's up, take a stiff brush or an old toothbrush and scrub the grout in circular motions. Focus on stubborn stains to enhance your cleaning power.
After scrubbing, rinse the area with clean water to remove any residue. This will reveal your refreshed, clean grout, making your surfaces look like new again!
Effective Scrubbing Techniques
When it comes to scrubbing grout effectively, choosing the right brush is key. You'll want to use a stiff-bristled brush or an old toothbrush and apply consistent pressure as you work in circular motions. This approach not only helps dislodge dirt but also guarantees you cover small sections thoroughly. Additionally, using a mixture of baking soda and vinegar can enhance the cleaning process by breaking down tough stains and odors. For optimal results, consider using attachments for hard-to-reach areas, ensuring every part of the grout is cleaned efficiently. Regularly cleaning tools after each use is essential for maintaining their peak performance.
Choosing the Right Brush
Choosing the right brush is essential for effectively cleaning grout, as the right tools can make a significant difference in your results.
For ideal scrubbing, consider these options:
- Stiff-bristled nylon brush or grout brush for deep cleaning
- Cordless drill with scrub brush attachment for larger areas
- Old electric toothbrush for tight spaces and intricate tile designs
- Cleaning brushes with ergonomic handles for comfort
- Specialized grout brush for precision in grout lines
Using these brushes, focus on scrubbing in circular motions to enhance cleaning efficiency.
Remember to regularly clean your brushes after use to maintain their effectiveness and avoid transferring dirt back onto your freshly cleaned grout.
Scrubbing Techniques to Employ
After you've selected the right brush, it's time to put it to work with effective scrubbing techniques.
Use a stiff-bristled brush or an old electric toothbrush to scrub the grout, as these tools can reach into the porous surfaces effectively. Apply your baking soda cleaning solution, then scrub each grout line in circular motions to dislodge dirt and grime.
Make certain to cover all areas evenly, dedicating about two minutes to each line for ideal results. If you're tackling larger spaces, consider using a cordless drill with a scrub brush attachment to save time.
Don't forget to regularly rinse the area with clean water during the process to prevent residue buildup and guarantee the cleaning solution is thoroughly removed.
Maintaining Consistent Pressure
Maintain consistent pressure while scrubbing grout to achieve the best cleaning results.
Using a nylon-bristled brush, apply firm pressure to guarantee you effectively lift dirt and stubborn stains without damaging your tiles. Scrub in circular motions to cover more surface area and penetrate the porous grout.
Focus on these key techniques:
- Use a stiff cleaning brush for better scrubbing
- Apply slightly more pressure on dirty grout areas
- Rinse your brush regularly to avoid reapplying dirt
- Maintain a steady rhythm for consistent pressure
- Work methodically to guarantee no spots are missed
Rinsing and Final Cleanup
Once you've let the baking soda paste sit on the grout, it's important to rinse the area thoroughly to remove any residue.
Use warm water for rinsing; it dissolves the remaining cleaner more effectively than cold water. Grab a damp mop or sponge and start rinsing, paying special attention to the corners and edges to make sure you don't leave any baking soda residue behind. This ensures you maintain cleanliness through consistent upkeep in your bathroom. Regularly rinsing helps to eliminate germs and bacteria that may linger on surfaces.
This is vital to avoid slippery surfaces. After rinsing, follow up with a clean, dry towel to absorb any excess moisture, which helps prevent water spots on your tiles. Regular rinsing not only maintains grout cleanliness but also prevents future buildup of dirt and stains, keeping your grout looking fresh and clean. Additionally, incorporating regular cleaning routines can help reduce the spread of germs, contributing to a healthier bathroom environment.
Preventive Measures for Grout Maintenance
To keep your grout looking pristine, it's essential to adopt a few preventive measures that can save you time and effort in the long run.
Start by incorporating these tips into your routine:
- Regularly sweep and mop tiled areas to prevent dirt accumulation.
- Promptly clean up spills in high-moisture areas like kitchens and bathrooms.
- Implement a monthly cleaning routine with a baking soda paste to maintain clean grout.
- Keep a vinegar-water spray handy for quick post-use maintenance, reducing soap scum.
- Opt for liquid soap instead of bar soap to minimize soap scum buildup.
Conclusion
In the kingdom of clean tiles, baking soda reigns supreme as a trusted knight, battling dirt and grime without harsh chemicals. By wielding your trusty scrub brush and the magical paste you've created, you can restore the luster of your grout and keep your castle shining bright. Remember, with a little preventive care, your grout will remain strong and resilient, like a well-guarded fortress. Embrace this no-chemical solution, and let your home sparkle with pride!