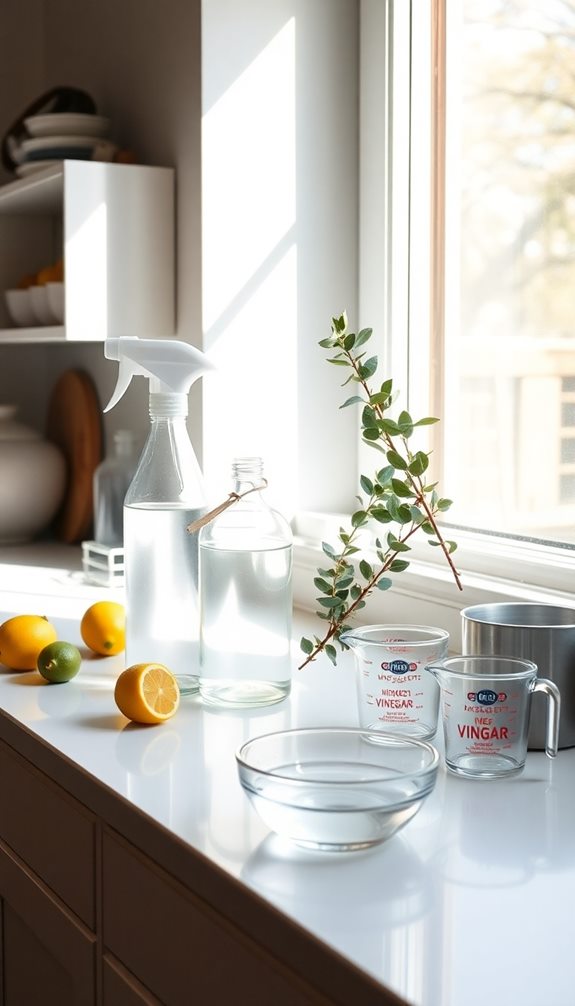
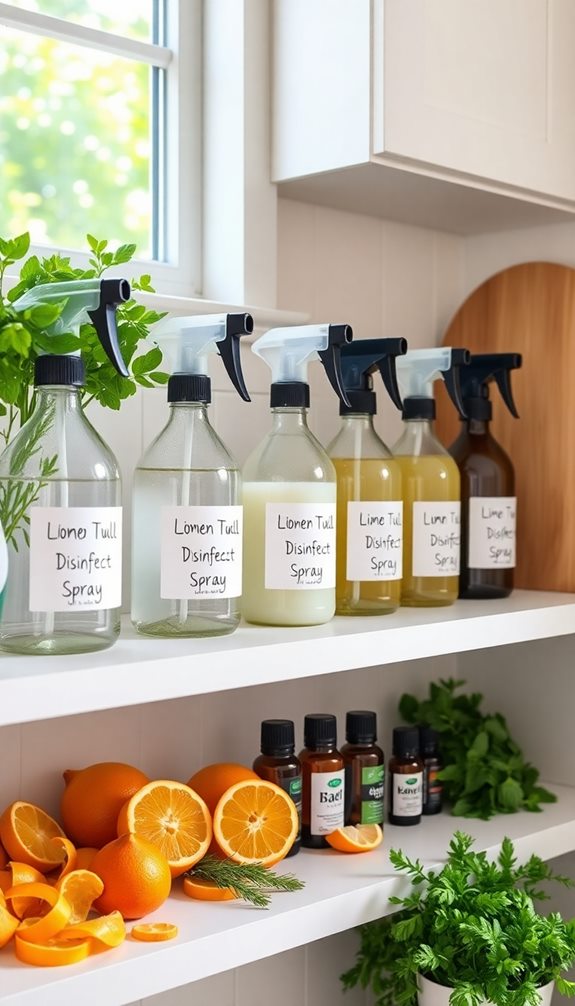
You can easily make an all-purpose DIY disinfecting spray at home using just a few ingredients. Combine 1 1/4 cups of distilled water, 1/4 cup of white vinegar, and 1/4 cup of vodka or rubbing alcohol in a glass spray bottle. If you want, add 10-15 drops of essential oils for extra cleaning power and a pleasant scent. Remember to label the bottle and store it in a cool, dark place. This homemade spray works well on non-porous surfaces and helps eliminate germs. There's more you can discover about its applications and eco-friendly benefits!
Preparation and Ingredients
To create an effective DIY disinfecting spray, you'll need a few simple ingredients and a glass spray bottle. Start by gathering 1 1/4 cups of distilled water, 1/4 cup of white vinegar, and either 1/4 cup of vodka or rubbing alcohol. These components work together to deliver strong cleaning power for your surfaces, guaranteeing a safe and non-toxic cleaning experience non-toxic cleaners that protect your family's health and the environment.
Once you've got your ingredients, pour them into the glass spray bottle. Using a glass container is vital, as it's reusable, eco-friendly, and prevents any chemical reactions that might occur with plastic.
To enhance your disinfecting spray, add 10 to 15 drops of essential oil like tea tree or citrus. This not only boosts the cleaning power but also leaves a pleasant scent.
After mixing, confirm all ingredients are clearly labeled with their contents and the preparation date for easy organization.
For best storage, keep your DIY disinfecting spray in a cool, dark place. If you've used distilled water, your solution can last up to 3-6 months, while using tap water shortens its shelf life to about 2-4 weeks.
Now you're ready to tackle germs effectively!
Safety Considerations
When you're using your DIY disinfecting spray, make sure you've got good ventilation to keep the fumes from bothering you.
Regular disinfection is essential for maintaining a hygienic environment, especially in high-germ areas like bathrooms, so consider using a powerful disinfectant when necessary.
Always store your cleaners out of reach of kids and pets to avoid any accidents.
Plus, steer clear of mixing different products unless you know they're safe together, as some combinations can be dangerous.
Proper Ventilation Importance
Proper ventilation is essential for safety while using DIY disinfecting sprays, especially those containing alcohol. When you're in the midst of your cleaning process, ensuring good airflow can make a significant difference.
It helps minimize strong odors and reduces the buildup of volatile organic compounds (VOCs) released during cleaning. To achieve this, open windows and doors or use exhaust fans to enhance air circulation in the area. This not only creates a safer environment for you but also protects other occupants in your home.
For sensitive individuals, such as those with asthma or respiratory issues, maintaining proper ventilation is vital to avoid worsening their conditions.
A well-ventilated space improves safety and enhances the effectiveness of your cleaning solution. With good airflow, moisture evaporates quickly, leading to faster drying times on surfaces and a more effective cleaning process overall.
Avoid Harmful Mixtures
Mixing cleaning products can lead to dangerous reactions, so it's important to be aware of harmful combinations. One of the most critical rules is to never mix vinegar with bleach. This combination creates toxic chlorine gas that can cause serious respiratory issues and eye irritation.
When you're preparing homemade cleaning solutions, always prioritize safety. Make sure you store all your disinfectants and homemade products in clearly labeled containers. Keep them out of reach of children and pets to prevent accidental ingestion or misuse.
If you're using strong-smelling ingredients like vinegar or essential oils, consider wearing a mask and gloves, especially if you have asthma or other respiratory sensitivities. This helps reduce irritation while handling these potent substances.
Before applying any new cleaning solution, test it on a small, inconspicuous area first. This precaution helps you avoid damage or discoloration to your surfaces.
Child and Pet Safety
Safety is paramount when creating and using DIY disinfecting sprays, especially in homes with children and pets. Always store your homemade disinfecting sprays out of reach to prevent accidental ingestion or exposure to harmful ingredients.
It's wise to use child-proof spray bottles and guarantee that all cleaners are clearly labeled to enhance safety.
When using your sprays, guarantee proper ventilation to minimize inhalation risks for sensitive individuals, including children and pets. Be cautious with essential oils; some, like tea tree oil, can be toxic to pets, so always research safety before adding any ingredients to your DIY cleaners.
Additionally, conduct spot tests on surfaces to guarantee your disinfectants won't cause damage, particularly on areas frequently accessed by kids or pets. This extra step helps you maintain a safe environment while cleaning.
How to Make Cleaners

Creating your own cleaners can be both empowering and cost-effective. With just a few simple ingredients, you can whip up a homemade disinfecting spray that's safe and effective. Using natural disinfectants like vinegar and alcohol not only helps eliminate germs but also promotes a healthier kitchen environment by avoiding harsh chemicals. Here's how:
- Ingredients Needed: Gather 1/4 cup distilled white vinegar, 1/4 cup vodka or rubbing alcohol, and 1 1/4 cups distilled water.
- Add Essential Oils: For added antibacterial properties and a pleasant scent, include 10-15 drops of essential oils, like tea tree or citrus.
- Mix in a Glass Spray Bottle: Combine all the ingredients in a glass spray bottle.
- Label Your Spray Bottles: Don't forget to label your spray bottles with the contents and preparation date.
Once mixed, store your homemade cleaners in a cool, dark place to keep them effective. If you use distilled water, your disinfecting spray can last up to 3-6 months.
Always test for damage by applying the cleaner on an inconspicuous area before full use. By incorporating these steps into your cleaning routine, you'll enjoy a fresh and safe environment without breaking the bank!
Utilizing natural disinfectants can enhance the effectiveness of your cleaning routine while being eco-friendly.
Cleaning Applications
When using your DIY disinfecting spray, you'll want to evaluate which surfaces are safe and effective to clean. Knowing the right techniques can maximize your spray's germ-fighting power while keeping your home safe.
For instance, it's important to remember that certain disinfectants, like Clorox Free & Clear Multi-Surface Spray Cleaner, are designed to be safe on a variety of surfaces, guaranteeing they won't damage your countertops.
Let's explore some key tips for surface compatibility and application safety to make sure you're getting the best results.
Surface Compatibility Overview
Many surfaces in your home can benefit from DIY disinfecting sprays, making them a versatile choice for maintaining cleanliness.
Here's a quick overview of surface compatibility:
- Non-Porous Surfaces: DIY disinfecting sprays work wonders on surfaces like kitchen countertops, bathroom sinks, and appliances.
- Glass Surfaces: A vinegar-based cleaner is perfect for achieving a streak-free shine when applied with a microfiber cloth.
- Natural Stone Materials: Avoid using these cleaners on materials like granite or marble, as their acidity can damage the finish.
- Castile Soap-Based Cleaners: When using this cleaner, be certain to rinse thoroughly to prevent any soapy residue, which can attract bacteria and odors.
Incorporating homemade disinfectant sprays into your cleaning routine can greatly reduce bacteria and odors, providing you with a cleaner and healthier living space.
Just remember to take into account the surface compatibility before applying your DIY disinfecting sprays to avoid any damage.
Effective Cleaning Techniques
Understanding surface compatibility helps you apply effective cleaning techniques for a thorough disinfecting process. When you're using your DIY disinfecting spray, start by cleaning surfaces with soap and water. This step removes dirt and grime, allowing your all-purpose cleaner to disinfect surfaces more effectively.
For areas like kitchen countertops and bathroom fixtures, verify your cleaner is safe for materials to avoid damage.
If you want a streak-free shine on glass and mirrors, consider using a vinegar-based cleaner. Wipe with a microfiber cloth in a circular motion for the best results. Always perform a spot test on inconspicuous areas to check for any adverse reactions before applying your all-purpose cleaner widely.
When cleaning floors, apply your disinfecting spray lightly to prevent excess moisture damage, especially on laminate and tile surfaces.
Incorporating essential oils into your DIY disinfecting spray can't only enhance the scent but also add extra antibacterial properties. By following these effective cleaning techniques, you'll verify your home is both clean and safe for your family.
Application Safety Tips
Applying your DIY disinfecting spray safely is essential for protecting both your surfaces and your health. Follow these application safety tips to guarantee a safe cleaning experience:
- Test your DIY disinfecting spray: Always apply it on an inconspicuous area first to avoid damaging larger surfaces.
- Avoid vinegar-based cleaners on natural stone surfaces: Acidity can etch and damage materials like granite and marble.
- Confirm proper ventilation: When using alcohol-based cleaners, open windows or use fans to minimize inhalation of fumes and reduce irritation.
- Clean surfaces before application: Removing dirt and grime allows your disinfectant to work more effectively.
Additionally, remember to store your homemade disinfecting spray in a cool, dark place. This helps maintain its potency and guarantees you're using it within the recommended shelf life.
Keeping these tips in mind not only protects your surfaces but also enhances your cleaning effectiveness, making your DIY disinfecting spray a safe and powerful tool for maintaining a clean environment.
Happy cleaning!
Environmental Impact

Homemade disinfecting sprays offer a powerful way to clean while being kind to the environment. By using non-toxic ingredients, you greatly reduce the environmental impact compared to commercial cleaners, which often contain harmful chemicals. These harmful substances contribute to pollution and can negatively affect ecosystems.
Additionally, opting for eco-friendly cleaning solutions can enhance indoor air quality and promote a healthier living space.
Choosing reusable glass spray bottles helps minimize plastic waste, aligning with eco-friendly practices. You're not only reducing reliance on single-use plastics but also promoting a cleaner planet.
Many DIY cleaning solutions are biodegradable, ensuring their ingredients break down naturally and won't contribute to chemical runoff that harms our water systems.
Furthermore, by opting for homemade cleaning products, you can lower your carbon footprint. These sprays require less energy and fewer resources for production and distribution than mass-produced cleaners.
The choice of natural ingredients also supports sustainable agriculture and local economies, as you can source essential oils and other components from local or organic suppliers.
In essence, making your own disinfecting spray not only keeps your home clean but also fosters a healthier environment, helping you contribute to a more sustainable future.
Uses of Disinfectant Spray
Disinfectant spray packs a punch when it comes to keeping your home clean and germ-free. You can use this versatile homemade cleaner in various ways, making it a cost-effective and eco-friendly addition to your cleaning routine. For instance, you can enhance its effectiveness by using natural ingredients like vinegar or hydrogen peroxide for deeper cleaning, which are known for their eco-friendly cleaning solutions.
Here are some great uses for your disinfectant spray:
- Sanitize high-touch surfaces: Use it on doorknobs, light switches, and countertops to reduce the spread of germs and bacteria.
- Clean kitchen and bathroom fixtures: Safely apply it to sinks, faucets, and toilet surfaces, enhancing overall hygiene.
- Eliminate odors: The spray neutralizes bacteria that cause unpleasant smells, leaving your home smelling fresh.
- Add essential oils: Boost the antibacterial properties and scent of your disinfectant spray by incorporating your favorite essential oils.
With a shelf life of 2-4 weeks when made with tap water and 3-6 months with distilled water, you can whip up a batch whenever you need it.
Storage Tips

To keep your DIY disinfecting spray effective for as long as possible, it's essential to store it properly.
First, use a glass spray bottle for storage. Glass is reusable, eco-friendly, and reduces the risk of chemical reactions that can occur with plastic.
To maintain an organized and clutter-free space in your kitchen, consider utilizing vertical and corner spaces for your cleaning supplies.
Once filled, label the spray bottle with the contents and the preparation date. This helps you track the shelf life, which is about one month with tap water and three to six months with distilled water.
Always store the spray in a cool, dark place. Exposure to sunlight and heat can degrade the essential oils and other ingredients, diminishing their effectiveness.
Regularly check the solution for any cloudiness or changes in smell; these can indicate contamination. If you notice either, it's best to discard the mixture.
Conclusion
Making your own disinfecting spray is a breeze and can save you a chunk of change while keeping your home clean and fresh. With just a few simple ingredients, you can whip up a powerful all-purpose cleaner that tackles germs without breaking a sweat. Plus, you'll be doing your part for the environment. So, roll up your sleeves and plunge into this DIY project—it's a win-win that'll have your home sparkling in no time!