You're tired of feeling overwhelmed by stubborn kitchen grease, but don't worry, you're about to take control. Start by clearing the clutter and gathering your cleaning supplies. Next, choose the right degreaser for the job, considering the type of grease and surface. Don't forget to test it on a small area first. For tough stains, try a potent degreaser made with baking soda, vinegar, and dish soap. With patience and elbow grease, you'll be on your way to a sparkling clean kitchen. And, the best part is, you're just getting started on your path to a grease-free kitchen.
Understanding Kitchen Grease Buildup
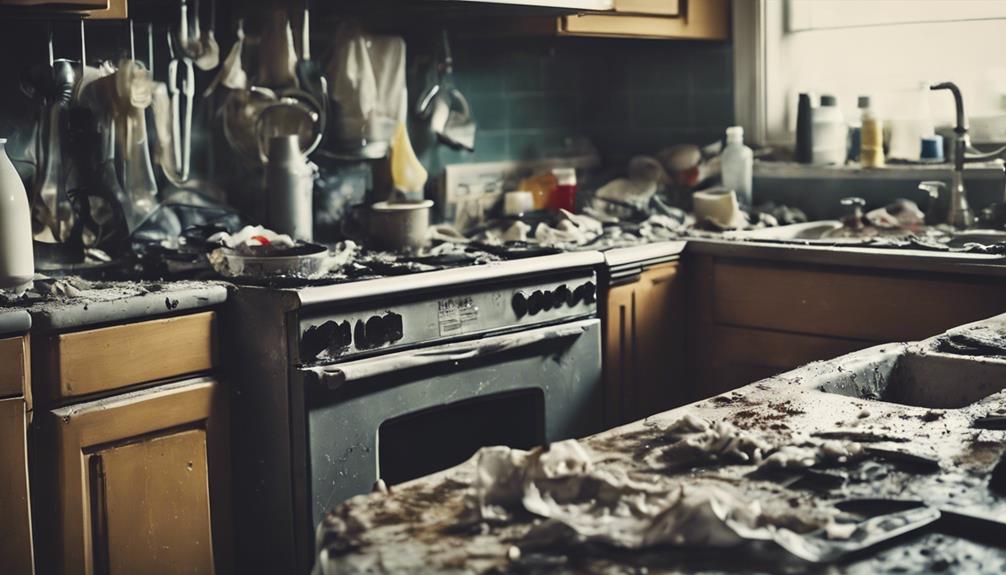
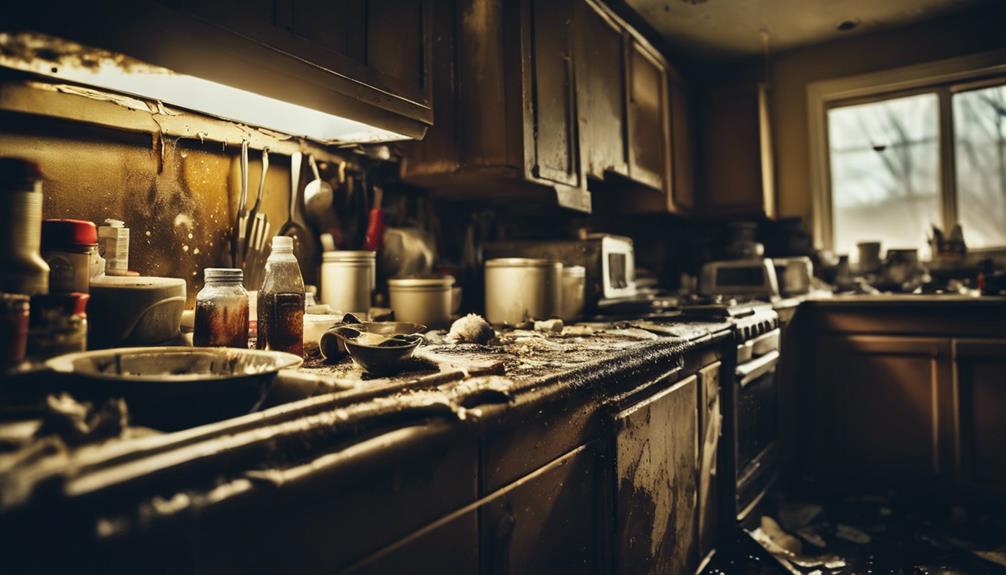
As you cook and prepare meals, you inadvertently create an ideal environment for kitchen grease buildup to thrive, thanks to the combination of cooking oils, fats, and food residues that gradually accumulate on surfaces over time. This sticky, unsightly layer can be challenging to remove, making regular cleaning and prevention essential.
Neglecting to address grease buildup can lead to unpleasant odors, attracting pests, and even creating potential fire hazards. Understanding the causes of grease buildup is key to effective removal. Improper ventilation, cooking techniques, and lack of regular cleaning all contribute to this stubborn issue. By recognizing these factors, you can take preventative measures to maintain a clean and hygienic kitchen environment.
Regular cleaning routines can help prevent stubborn kitchen grease buildup. Additionally, adopting healthy cooking techniques and ensuring good ventilation can also go a long way in reducing grease accumulation. By being proactive, you can remove the need for aggressive degreasers and ensure a cleaner, safer kitchen space.
Choosing the Right Degreaser
You're faced with a multitude of degreaser options, from all-purpose products like Krud Kutter Degreaser to DIY concoctions, making it crucial to choose the right one for your kitchen's specific grease-fighting needs.
When selecting a degreaser, consider the type of kitchen grease you're dealing with and the surface you're cleaning. Here are some factors to keep in mind:
- All-purpose cleaning: If you're looking for a versatile degreaser that can tackle various kitchen surfaces, consider an all-purpose product like Krud Kutter Degreaser.
- Natural alternatives: For a more eco-friendly approach, try DIY degreasers using vinegar, baking soda, dish soap, or olive oil.
- Tough grease removal: For stubborn grease buildup, a stronger solution with vinegar, water, baking soda, and dish soap might be necessary.
- Surface protection: Before applying any degreaser, test it on a discreet area to make sure it won't damage the surface.
Preparing for Deep Cleaning
Clear everything off the countertops and declutter the area to focus on deep cleaning the kitchen surfaces.
You'll want to gather all the necessary cleaning supplies, including degreasers, vinegar, baking soda, dish soap, and sponges.
Before you start, make sure there's proper ventilation in the kitchen to prevent inhaling fumes from the cleaning agents. It's also a good idea to wear protective gloves to shield your hands from harsh chemicals.
Next, perform a spot test on a small, inconspicuous area to confirm the cleaning agent is safe for the surface. This step is essential to avoid damaging your kitchen surfaces.
With your supplies and ventilation in check, you're ready to tackle the grease. Remember, deep cleaning requires patience and elbow grease (no pun intended!).
Take your time, and don't be afraid to get a little messy. By preparing properly, you'll set yourself up for success in removing stubborn kitchen grease.
Tackling Tough Grease Stains
Now that you're prepared for battle, it's time to face off against those tough grease stains head-on. To tackle these stubborn stains, you'll need a potent degreaser. Fortunately, you can create your own using a mixture of baking soda, vinegar, and dish soap.
Here's how to use it:
- Mix and apply: Combine the ingredients to form a paste, and apply it to the grease stain.
- Scrub it in: Use a sponge or brush to work the degreaser into the grease, breaking it down effectively.
- Let it sit: Allow the degreaser to sit on the stain for a few minutes to penetrate and loosen the tough grease.
- Rinse and repeat: Rinse the area thoroughly with hot water and repeat the process if necessary to completely remove the stubborn grease stains.
Cleaning Greasy Cabinets
As you tackle the task of cleaning greasy cabinets, you'll need to prepare the surface and choose the right cleaning solution for the job.
You'll want to start by wiping down the cabinets to remove any loose grime, and then decide on a cleaning agent that can effectively cut through the grease.
From baking soda and lemon to white vinegar and hot water, you have several options to choose from, depending on the type of cabinets you're working with.
Greasy Surface Preparation
Before tackling the tough task of degreasing, you'll want to give your greasy cabinets a good cleaning with soap and hot water to remove dirt and grime combined with grease. This step is important in guaranteeing the degreasing process is effective.
To do this, use a wet microfiber cloth and dish soap to wipe down the cabinets, repeating the process if necessary. Remember to test any cleaning product on a discreet area of the cabinet first to avoid damaging the finish.
Here are some additional tips to keep in mind for greasy surface preparation:
- Avoid harsh scrubbing, especially on wood kitchen cabinets, as it can cause damage.
- Consider the finish of the cabinets when choosing cleaning products to ensure effective degreasing.
- A mixture of baking soda and water can be used to create a gentle cleaning paste for tough grease stains.
- Dry the cabinets thoroughly with a clean cloth to prevent water spots and promote a clean kitchen environment.
Effective Cleaning Solutions
With your cabinets prepped and ready, you can tackle the grease with effective cleaning solutions, starting with a simple mixture of warm water and mild dish soap for gloss cabinets. This gentle yet effective solution is a great starting point for removing stubborn grease.
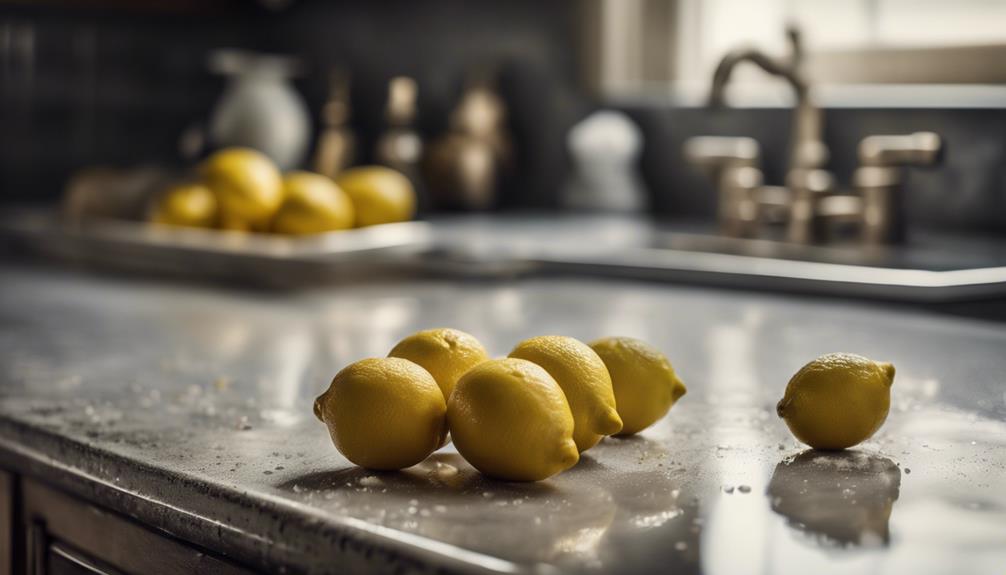
For tougher stains on wood cupboards, try using a baking soda paste to combat grease buildup and tough stains. If you're looking for a natural degreaser, mix baking soda and lemon juice for a potent grease-cutting solution. This combination not only cleans greasy cabinets but also leaves a fresh, citrusy scent.
For a more aggressive approach, try a white vinegar and hot water spray to tackle grease removal on kitchen cabinets. Whatever solution you choose, remember to test a small area first to guarantee the best results.
Removing Grease From Appliances
You'll want to tackle grease buildup on appliances by soaking stove grates and knobs in hot soapy water to loosen the grime. This will make it easier to scrub away stubborn grease stains. For tougher stains, mix baking soda, kosher salt, and dish soap to create a paste that can help break down cooked-on grease.
Here are some additional tips to keep in mind:
- Regular maintenance is key: Wipe down stovetops after each use and soak removable parts regularly to prevent grease buildup.
- Soak and scrub: Soak stove grates and knobs in hot soapy water, then scrub them with a kitchen brush to remove grease stains.
- Use a degreaser: If you need an extra boost, use a degreaser to help break down tough grease stains.
- Rinse thoroughly: After scrubbing, rinse all parts thoroughly to remove any remaining grease and soap residue.
Natural Degreaser Recipes
Your kitchen countertops and appliances don't have to be victims of stubborn grease stains; instead, whip up a natural degreaser recipe to tackle the mess. Combine baking soda, dish soap, vinegar, and water to create a powerful homemade degreaser. This potent solution is perfect for tackling tough grease removal.
For fresh grease stains on countertops or stovetops, try mixing vinegar with water for an effective and eco-friendly solution.
If you're looking for a natural alternative, olive oil can be used to cut through grease on various surfaces. DIY degreasers offer a cost-effective and environmentally friendly solution for removing stubborn kitchen grease.
By mixing baking soda and dish soap with vinegar and water, you'll have a potent solution for tackling even the toughest grease stains. With these natural degreaser recipes, you'll be saying goodbye to kitchen grease in no time.
Degreasing Kitchen Countertops
Removing stubborn grease from kitchen countertops requires the right cleaning solution and a bit of elbow grease, and fortunately, there are several effective methods to get the job done.
You can use an all-purpose degreaser like Krud Kutter Degreaser to effectively remove grease from kitchen countertops. If you prefer a DIY approach, create a DIY degreaser using vinegar, water, baking soda, and dish soap for tough grease stains on countertops.
Here are some effective methods to degrease your kitchen countertops:
- Spray an all-purpose cleaner on countertops, let it sit, then wipe with a damp microfiber cloth to remove grease.
- Clean with hot water and dish soap, then use vinegar for a final cleanup if needed.
- Use a DIY degreaser made with baking soda, dish soap, and vinegar to tackle tough grease stains.
- Apply a commercial degreaser and follow the instructions for a streak-free finish.
Remember to test any cleaning product on a discreet area of the countertop before full application to avoid damaging the surface. With these methods, you'll be able to remove stubborn grease from your kitchen countertops with ease.
Grease-Proofing Kitchen Surfaces

Now that you've degreased your kitchen countertops, it's time to take preventative measures to keep them grease-free.
To do this, you'll need to:
- Clean and prepare your surfaces
- Apply grease-resistant coatings
- Seal any gaps and cracks where grease can accumulate
Clean and Prepare Surfaces
Before tackling that stubborn kitchen grease, can you confidently say your surfaces are completely free of dirt and grime? Ensuring that your surfaces are thoroughly clean and free of any dirt and grime is crucial before delving into the grease-removal process.
To get started, mix dish soap with hot water to create a solution that effectively removes dirt and grime from your surfaces. For fresh grease or stains on surfaces like countertops, try a mix of vinegar and water.
Here are some additional tips to keep in mind:
- Use an all-purpose degreaser like Krud Kutter for multiple cleaning tasks in the kitchen.
- Create a DIY degreaser by combining vinegar, baking soda, and dish soap to cut through tough grease.
- Always test any cleaning product on a discreet area to prevent damage to the surface.
- Remember, ensuring clean surfaces are crucial for effective grease removal, so take your time and do it right.
Apply Grease-Resistant Coatings
By applying a grease-resistant coating to your kitchen surfaces, you'll create a protective barrier that repels grease and oil, making cleaning a breeze. This coating will prevent grease from penetrating the surface, making it easier to wipe away spills and stains.
Before applying the coating, make sure to clean the surface thoroughly with a solution of baking soda and dish soap to remove any existing grease and grime. Once the surface is clean, apply the coating evenly, following the manufacturer's instructions.
For tough areas like kitchen cabinets, consider using a degreaser to guarantee a strong bond between the coating and the surface. After application, allow the coating to dry completely to ensure peak effectiveness.
With a grease-resistant coating, you'll reduce the frequency of deep cleaning and extend the lifespan of your kitchen surfaces. By taking this proactive step, you'll be better equipped to tackle stubborn kitchen grease and keep your kitchen surfaces looking their best.
Seal Gaps and Cracks
To further fortify your kitchen against grease, you'll want to seal any gaps and cracks around kitchen surfaces, as these openings can provide a pathway for grease to seep in and accumulate. By doing so, you'll be able to prevent grease buildup and create a grease-proof barrier.
Here are some key areas to focus on:
- Countertops and backsplashes: Use silicone sealant to seal gaps between these surfaces and walls to prevent grease from seeping in.
- Hard-to-reach areas: Inspect and seal any cracks or crevices near stoves, ovens, and range hoods to minimize grease buildup.
- Appliances and cabinets: Regularly check and maintain the seals on kitchen appliances and cabinets to prevent grease from infiltrating and sticking to surfaces.
- Caulking: Use caulking to seal gaps and cracks around kitchen surfaces, making it easier to clean and maintain your kitchen.
Maintaining a Grease-Free Kitchen
In your quest for a grease-free kitchen, start by making cleaning a habit, as regular upkeep is key to preventing grease buildup and maintaining a hygienic space.
You'll want to regularly clean kitchen surfaces with a degreaser, such as a mixture of baking soda and vinegar, to prevent grease from accumulating.
Avoid pouring grease down drains, as it can cause clogs and undo all your hard work. Instead, wipe down stoves and ovens after each use to prevent grease from building up.
When cooking, use splatter screens to minimize grease splatters on surfaces and cabinets. Store greasy items in sealed containers to prevent grease transfer and maintain a tidy kitchen.
Conclusion
As you've learned, removing stubborn kitchen grease requires patience, persistence, and the right strategies.
Remember, an ounce of prevention is worth a pound of cure – regular cleaning and maintenance can go a long way in preventing grease buildup.
By following these effective tips, you'll be well on your way to a sparkling, grease-free kitchen that shines like new.