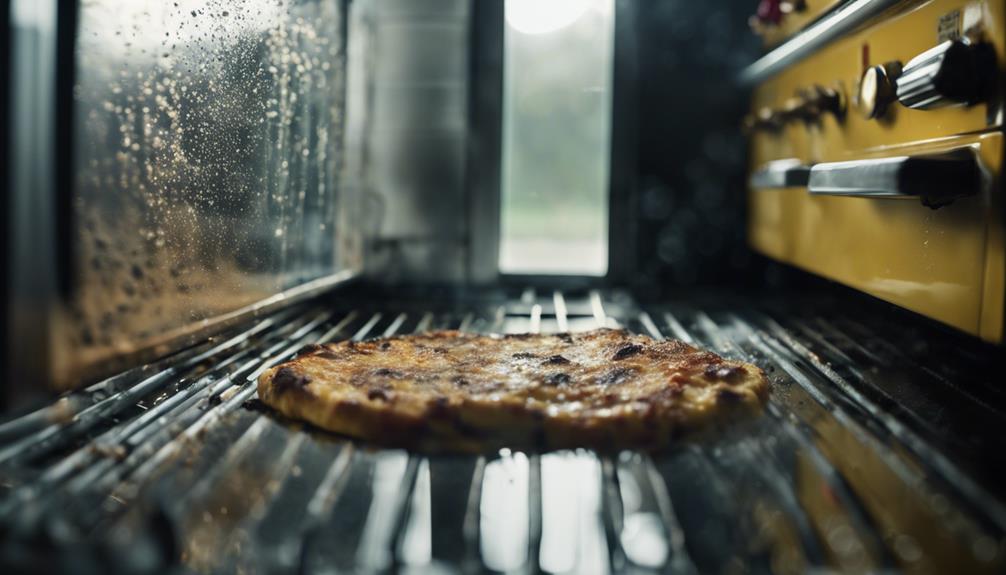
You're probably aware that a sparkling clean oven is essential for a hygienic kitchen, but did you know that a thorough cleaning can also improve your oven's efficiency and prolong its lifespan? Before you start, make sure to prep your oven by turning it off, removing racks, and letting it cool down. Wear rubber gloves and open windows for ventilation. With the right techniques and cleaning solutions, you can tackle tough stovetop grime, clean between the glass, and master the self-clean cycle. Now that you've got the basics covered, get ready to uncover the secrets to achieving a truly sparkling oven that will make your kitchen shine.
Prepping Your Oven for Cleaning
Before you start scrubbing away, take some time to prep your oven for a successful cleaning session by turning it off, removing the racks, and letting it cool down completely. This essential step guarantees your safety and sets you up for a thorough cleaning.
Remember to don a pair of rubber gloves to protect your skin from harsh chemicals and hot surfaces. Next, take out the racks and let them soak in soapy water to make cleaning easier. Give your oven time to cool down completely, as this will prevent any accidental burns or injuries.
Proper ventilation is also key, so open some windows to let fresh air in and dissipate any fumes. Before you begin scrubbing, take a glance at your oven's manufacturer's instructions to ensure you're following the recommended cleaning procedures.
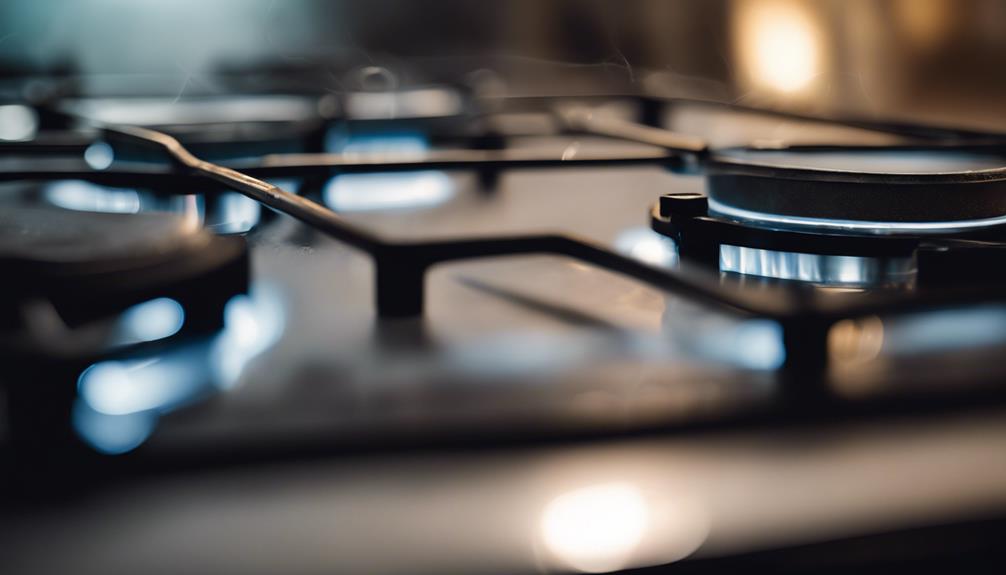
Tackling Tough Stovetop Grime
Now that your oven is prepped and ready, turn your attention to the stovetop, where tough grime and grease buildup can be a major obstacle to a hygienic cooking environment.
To address this, you'll need to identify the stovetop surface type to determine the most effective cleaning method for removing tough grime. Next, utilize a degreaser or a mixture of baking soda and vinegar to break down and eliminate stubborn grease buildup on the stovetop.
Employ a soft-bristle brush or non-abrasive sponge to scrub away persistent stains on the stovetop surface. Finish by wiping the stovetop clean with a damp microfibre cloth to reveal a sparkling and grease-free cooking area.
By implementing proper cleaning techniques, you'll secure a spotless stovetop and maintain a hygienic cooking environment. Remember, the right cleaning methods and tools can make all the difference in tackling tough stovetop grime.
With these steps, you'll be well on your way to a clean and hygienic stovetop that's free from stubborn grease buildup.
Cleaning Between the Glass
As you tackle the task of cleaning between the glass of your oven door, you'll need to remove the inner glass panels to access the area.
You'll then need to decide on the right glass cleaning solutions to use, and master scraper techniques to effectively remove stubborn grime.
Removing Inner Glass Panels
You'll need to disassemble your oven door to access the inner glass panels, which are prone to accumulating grease, dirt, and grime over time. This important step allows you to clean the inner glass panels, a task often overlooked but essential for maintaining your oven's sparkle.
Some oven models have removable inner glass panels, making cleaning a breeze. For others, you'll need to carefully disassemble the door to access the panels.
With the panels exposed, use a degreaser to loosen the dirt and grime. Gently scrub the panels with a microfibre cloth and a gentle scrubber to remove the accumulated grime. Be gentle, as the glass can scratch easily. Once clean, use a dry microfibre cloth to wipe away any excess moisture.
Regularly cleaning between the glass panels improves the oven's appearance and ensures peak performance. By removing the inner glass panels, you'll be able to clean hard-to-reach areas and prevent the buildup of dirt and grime.
Glass Cleaning Solutions Used
When cleaning between the glass panels, specialized solutions are crucial to effectively remove dirt, grime, and residue that accumulate in this hard-to-reach area. You'll need professional-grade glass cleaning solutions to get the job done. These products are designed to tackle the tough task of cleaning between the glass panels, where dirt and grime tend to build up.
Using the right glass cleaning solutions guarantees a sparkling and transparent oven door. Professional cleaners have access to effective products that promise a thorough cleaning of the oven door. By cleaning between the glass panels, you'll improve visibility and enhance the appearance of your oven. The result is a sparkling oven door that looks like new.
Don't settle for a cloudy or streaked oven door. Instead, invest in specialized products that can remove dirt and grime, leaving your oven door looking its best.
With the right glass cleaning solutions, you'll be able to clean between the glass panels with ease, ensuring a thorough cleaning that will leave your oven door looking brand new.
Scraper Techniques for Success
Scrape away stubborn residue and build-up between oven glass layers with a razor blade scraper, held at a slight angle to avoid scratching the surface. You'll be amazed at how effectively this technique tackles grease, food splatters, and other tough stains in those hard-to-reach areas.
By regularly cleaning between the oven glass, you'll improve visibility and maintain the overall cleanliness of your appliance.
As you scrape, be gentle yet firm, working your way through the layers of grime. The scraper's precision will help you navigate tight spaces and crevices, where food particles and spills often accumulate.
Deep Cleaning Oven Racks
Soak your oven racks in warm, soapy water to loosen the tough grease and grime that's built up on them. This is the first step in deep cleaning your oven racks, ensuring your kitchen stays sparkling clean and hygienic.
After soaking, scrub the racks with a non-abrasive sponge or brush to remove stubborn stains and food residue. For tough grease buildup, mix baking soda and water to create a paste, applying it directly to the affected areas. Let it sit for a while before rinsing off.
Here are some additional tips to keep in mind:
- Regular deep cleaning of oven racks prolongs their lifespan and maintains a clean cooking environment.
- Remove racks from the oven and soak them separately to avoid re-depositing grime into the oven interior.
- Dry the racks thoroughly before reinserting them into the oven to prevent water spots.
Mastering the Self-Clean Cycle
By harnessing the power of your oven's self-clean cycle, you can effortlessly banish stubborn food residue and grime, restoring your oven to its former glory. Before running the cycle, remember to remove your oven racks to prevent damage from the extreme heat.
The self-clean cycle reaches scorching temperatures of 800-1000°F, incinerating food residue and grime. This process usually takes around 2-4 hours, depending on your oven model and the level of residue. During this time, the oven door will automatically lock for safety precautions, so be patient and let the magic happen.
Once the cycle is complete, let the oven cool down completely before wiping away the ash residue. This will leave your oven interior sparkling clean. Remember to take necessary safety precautions when cleaning an oven, as the high self-clean temperatures can be hazardous.
Removing Tough Oven Stains
Tackle tough oven stains head-on by identifying the type of stain you're dealing with, whether it's burnt-on food, grease buildup, or baked-on spills. As an oven cleaning expert, you know that removing these stubborn stains requires the right techniques and tools.
Start by removing the racks and grates to soak them in warm, soapy water. This will loosen tough grease and grime, making the cleaning process easier.
For stubborn stains, try using a baking soda mixture or a paste made with baking soda and water. Let it sit overnight before wiping it off with a microfiber cloth. For tougher stains, add some white vinegar to the baking soda paste for an extra boost of natural cleaning power.
Some additional tips to keep in mind:
- Regular cleaning can prevent tough stains from forming in the first place
- Use non-abrasive cleaners and scrub brushes to avoid damaging your oven's finish
- Soaking racks and grates regularly can make cleaning easier and more effective
Cleaning Stovetop Surfaces
When cleaning your stovetop surfaces, it's important to tailor your approach to the specific material, whether it's ceramic, glass, stainless steel, or cast iron, in order to achieve a sparkling finish without damaging the surface.
Using the right cleaning supplies is key. For glass stovetops, a gentle glass cleaner and microfiber cloths will do the trick. Stainless steel stovetops require a gentle scrub with non-abrasive sponges and a mixture of water and white vinegar. For tougher burnt-on stains, try applying a baking soda paste or white vinegar solution and letting it sit before wiping clean.
Regular cleaning of your stovetop surfaces prevents grease buildup, maintains efficiency, and prolongs the lifespan of your appliance. By following these simple steps, you'll be able to maintain a clean, safe, and inviting cooking area in your kitchen.
Caring for Your Oven Window
When it comes to caring for your oven window, you'll want to take into account the type of glass it's made of, as some cleaners can damage certain materials.
You'll also want to clean the window from the inside out to avoid streaks and residue.
Glass Type Matters
By understanding the specific needs of your oven window, whether it's double-paned or tempered glass, you can guarantee it remains clear and safe for years to come. Different glass types require specific cleaning methods to maintain clarity and safety.
To keep your oven window in top condition, remember the following:
Avoid using abrasive cleaners or sharp tools that can scratch or damage the glass surface.
Use gentle cleaning solutions like vinegar and water or a mild glass cleaner to keep your oven window streak-free and crystal clear.
Regularly clean your oven window to remove grease, food splatters, and residue that can affect visibility and the overall appearance of your oven.
Cleaning Inside Out
As you verify that your oven window is free from scratches and damage, now focus on maintaining its clarity from the inside out by regularly cleaning the interior side of the glass. This cleaning inside out approach guarantees you can monitor your cooking progress without any obstructions.
Grease and food splatters on the oven window can hinder your cooking experience, so it's crucial to clean the interior side regularly. Use a non-abrasive cleaner and a soft cloth to prevent scratches on the oven window.
Regular cleaning prevents the buildup of stubborn stains and grime, making oven cleaning a breeze. By following these expert tips, you'll enhance the overall appearance of your oven and kitchen.
Scheduling Regular Maintenance
Scheduling regular maintenance for your oven guarantees it continues to perform at its best, and setting a reminder every three months helps you stay on track. By doing so, you'll prevent the buildup of grease and food residue, making certain your oven remains efficient and functional.
Regular maintenance also helps prolong the lifespan of your oven, including self-cleaning ovens.
To keep your oven in top condition, remember to:
- Clean burnt food promptly to prevent stubborn stains
- Follow the manufacturer's guidelines for cleaning and maintenance to preserve functionality
- Clean oven racks separately to prevent grease buildup and ensure thorough cleaning
Conclusion
As you emerge from the trenches of oven cleaning, you're victorious, like a phoenix rising from the ashes of grime and grunge.
Your kitchen, once a battleground, is now a sparkling sanctuary, where meals are savored and memories are made.
With these expert tips, you've conquered the beast of oven cleaning, and your kitchen is reborn.