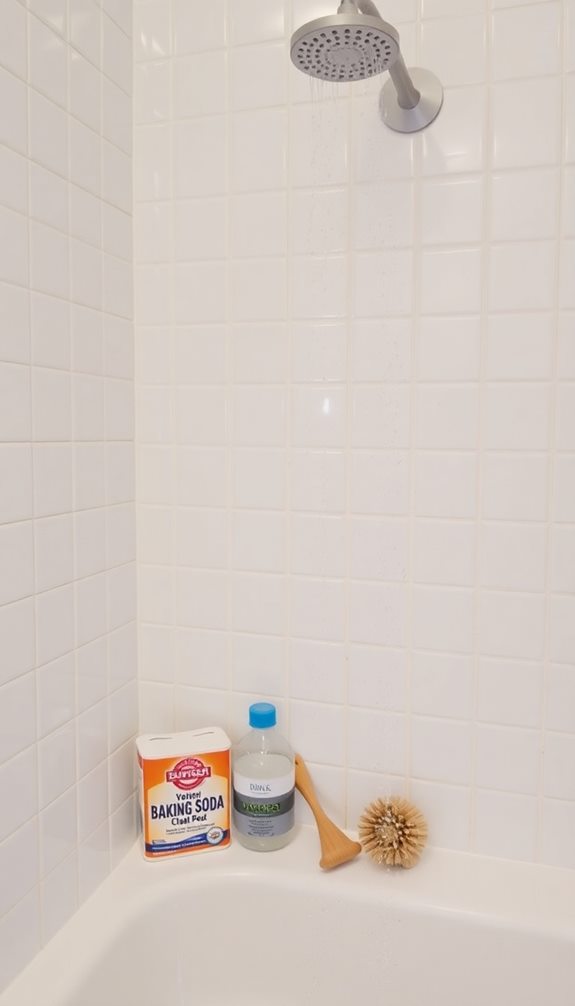
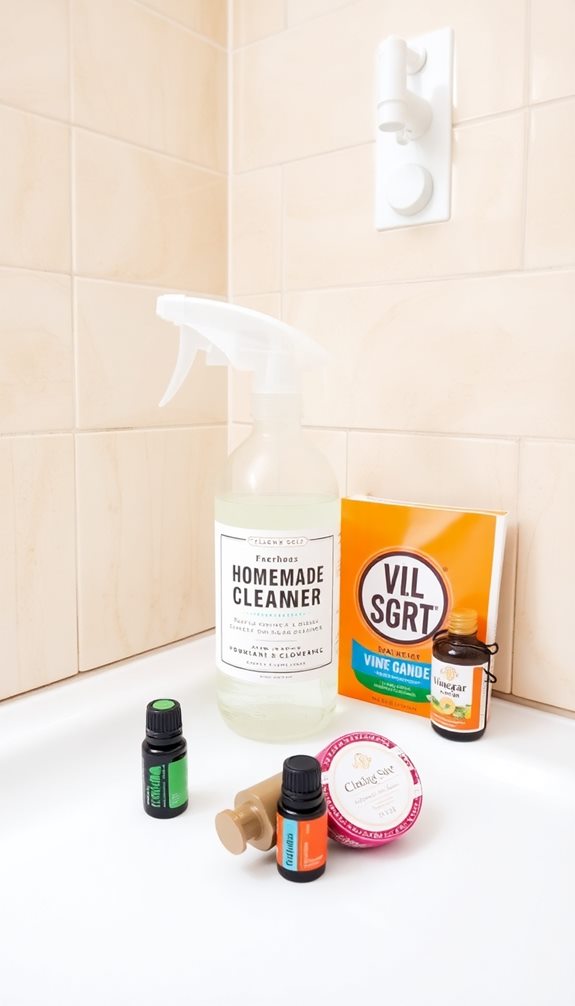
Creating your own shower cleaner is simple and cost-effective. You can mix equal parts vinegar and Dawn dish soap in a spray bottle for a powerful solution that tackles soap scum and hard water stains. Spray it generously on surfaces and let it sit for about 30 minutes. Then scrub those stubborn spots and rinse thoroughly. Optional essential oils can give your cleaner a pleasant aroma. Keeping this homemade spray handy makes maintenance easier, and using eco-friendly ingredients guarantees a healthier bathroom. You'll discover even more tips and tricks to keep your bathroom sparkling clean.
Benefits of Homemade Cleaners
Homemade cleaners offer a simple and effective solution for maintaining a fresh bathroom. By using common household ingredients like vinegar and dish soap, you can create a cost-effective DIY solution that rivals store-bought cleaners.
These cleaning recipes not only tackle tough soap scum and hard water stains but also keep your bathroom hygienic and safe for your family. Additionally, incorporating natural cleaning agents like baking soda can further enhance your cleaning routine and provide green methods to clean effectively.
One of the biggest benefits of homemade cleaners is their environmentally friendly nature. You're reducing reliance on harsh chemicals, which is better for both your health and the planet.
Plus, you can customize the scent to suit your preferences, making cleaning a more enjoyable experience. Regularly using these cleaners helps prevent the buildup of grime, ensuring you always have a clean bathroom.
Users often report higher satisfaction with homemade solutions, finding them more effective than commercial products for stubborn stains. They're versatile too, safe for various surfaces except natural stones like granite and marble.
Essential Ingredients for Cleaning
Creating an effective homemade shower cleaner relies on a few key ingredients that work together to tackle grime and stains. These essential components not only enhance your cleaning solution but also make the process easier and more enjoyable. Utilizing non-toxic cleaning solutions guarantees a safe environment for your family while effectively combating germs and mold.
- Vinegar: This natural disinfectant dissolves soap scum and hard water deposits, making it a must-have in your DIY shower cleaner. However, avoid using it on natural stones like granite or marble, as it can cause damage.
- Dawn Dish Soap: Known for its powerful grease-cutting abilities, Blue Dawn dish soap delivers superior cleaning results compared to other brands. It helps break down tough grime, making your shower sparkle.
- Baking Soda: Adding baking soda to your cleaning mix enhances effectiveness, creating a bubbling reaction when combined with vinegar that lifts dirt and grime effortlessly.
For a pleasant aroma and extra antibacterial properties, consider incorporating essential oils like tea tree or lemon.
If you need a gentle alternative for sensitive surfaces, try using rubbing alcohol mixed with distilled water as a cleaning solution.
With these ingredients, you're well on your way to a spotless bathroom!
Step-by-Step Cleaning Instructions

To achieve a sparkling clean shower, start by clearing the area of all personal items, giving yourself easy access to every surface that needs attention.
Next, prepare your DIY shower cleaner by mixing equal parts of distilled white vinegar and Dawn dish soap in a plastic spray bottle. Shake gently to combine the ingredients. For an even more effective solution, consider adding a few drops of essential oils for cleaning to enhance the antibacterial properties and leave a pleasant scent.
Once your cleaning spray is ready, generously spray it on all surfaces, including tiles, glass, and fixtures. Allow the cleaner to sit for 30 minutes to 1 hour to maximize effectiveness. This wait time helps break down soap scum and hard water stains.
After the waiting period, grab your scrub brush or sponge to tackle the mess. Focus on stubborn spots, scrubbing away any remaining residue.
Don't forget to rinse thoroughly with water to reveal your clean surfaces.
For ongoing maintenance, consider storing the homemade cleaner in the shower for easy access. A quick spray after each use can prevent buildup and keep your bathroom looking fresh.
With these step-by-step instructions, you'll enjoy a sparkling clean shower every time you step in!
Tips for Maintaining a Clean Shower
Maintaining a clean shower doesn't have to be a challenging task. With a few simple strategies, you can guarantee your bathroom stays spotless and fresh.
Incorporating eco-friendly cleaning solutions into your routine not only helps keep your shower clean but also promotes sustainability. Here are three tips to help you maintain a clean shower effortlessly:
- Regularly Spray: Keep a homemade shower cleaner spray within arm's reach in your shower. By regularly spraying it on surfaces while you shower, you can effectively prevent soap scum buildup and keep your shower looking clean with minimal effort.
- Incorporate a Scrub Brush: Invest in a scrub brush designed for tile and grout. Using this tool during your cleaning routine can enhance the effectiveness of your DIY cleaning efforts, tackling stubborn stains and grime.
- Establish a Weekly Cleaning Schedule: Make a habit of addressing mold and mildew promptly with a vinegar-based cleaner. Incorporating a weekly cleaning schedule reinforces good habits, guaranteeing your shower remains fresh and free of buildup over time.
User Experiences and Recommendations

Users have found great success with homemade shower cleaners, particularly those made with blue Dawn dish soap and vinegar. Many have reported that this combination effectively removes stubborn soap scum and hard water stains, often outperforming commercial cleaners.
For the best results, stick to the original blue Dawn dish soap, as its unique formula is favored in the DIY cleaning community. Additionally, incorporating sustainable cleaning practices can enhance your cleaning routine by promoting safety and reducing environmental impact.
To maximize effectiveness, allow your DIY shower spray to sit for at least 30 minutes, especially on tough stains. This waiting period can make a significant difference in your cleaning efforts.
Additionally, opting for this homemade shower cleaner means you're using non-toxic ingredients, making it a safer choice for those susceptible to allergic reactions from fragrances in commercial products.
Not only is this solution easy to prepare, but it's also cost-effective, using simple ingredients like vinegar and dish soap readily available at local stores. Some users even add a few drops of essential oil for a pleasant scent.
If you're looking to clean your shower without breaking the bank or exposing yourself to harsh chemicals, this homemade cleaner is definitely worth trying!
Conclusion
With just a few simple ingredients, you can transform your shower into a sparkling oasis that even a spa would envy! Imagine stepping into a shower so clean it practically shines like the sun, banishing grime and soap scum to the depths of oblivion. By following these DIY solutions, you're not just cleaning; you're initiating a quest for bathroom perfection. So grab your supplies, and let's make your shower the envy of every bathroom in town!