To clean your Instant Pot quickly and efficiently, first, unplug it and gather your supplies: degreasing dish soap, microfiber wipes, and vinegar. Remove the inner pot and all components. Hand wash the inner pot with hot, soapy water, or place it in the dishwasher. For the lid, detach the silicone sealing ring and wash it separately with vinegar to eliminate odors. Wipe the exterior and control panel with a damp cloth. Regular cleaning after each use prevents buildup and maintains performance. Stick around, and you'll discover even more handy tips to keep your Instant Pot spotless.
Cleaning Supplies Needed
To clean your Instant Pot effectively, you'll often want to gather some essential supplies first. Start with a degreasing dish soap, like Dawn, which can help break down tough grease.
A soft-bristled bottle brush is also handy for getting into hard-to-reach spots. You'll want some reusable microfiber wipes for effective surface cleaning, ensuring you don't scratch your appliance. Regularly using non-toxic cleaners can also ensure that your kitchen remains a safe environment for your family.
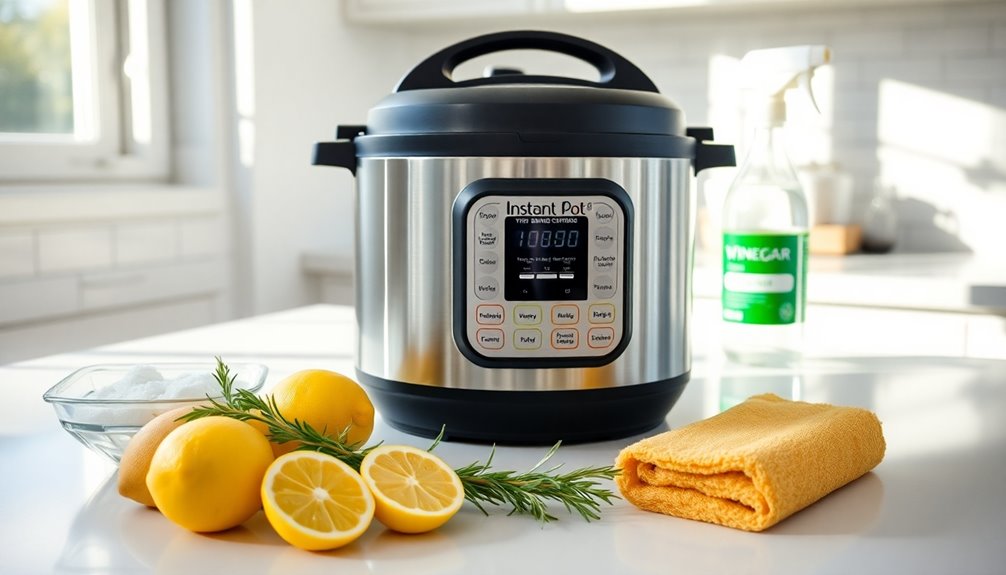
White vinegar is another must-have; it's versatile for deodorizing and can tackle stubborn mineral deposits on the lid and inner pot. Incorporating natural cleaning solutions into your routine can enhance kitchen cleanliness, as they promote sustainable cleaning practices that are safe for your family.
After cleaning, use a soft cloth or paper towels, such as Skura's Reusable Microfiber Wipes or Bounty, to dry and polish surfaces, leaving them looking great.
Make sure all your cleaning supplies are safe for kitchen appliances, as using harsh chemicals can damage your Instant Pot.
For those really stubborn stains, consider mixing baking soda with water for a powerful cleaning paste. This combination will help lift away grime without harming your appliance.
Preparing for Cleaning
Before diving into the cleaning process, make certain your Instant Pot is unplugged and completely cooled down. This step is vital to prevent burns and avoid damaging your appliance.
Once you've confirmed it's safe, gather all your cleaning supplies, including degreasing dish soap, white vinegar, a soft-bristled brush, and microfiber cloths. Having everything ready will streamline your cleaning process. Additionally, using eco-friendly cleaning solutions can help ensure a safe and effective clean. Using products with biodegradable ingredients not only protects your appliance but also minimizes environmental harm.
Next, remove the inner pot, sealing ring, and lid. This allows for a thorough cleaning of each component. Don't forget to refer to the user manual for any specific cleaning instructions related to your model.
As you prepare to clean, check all parts for food residue and stains. It's important to start with clean components for the best results. Regular purging helps avoid future spoilage issues.
Establish a designated cleaning area to avoid mess and make your organized cleaning routine more efficient. This will help you manage the different components and keep your space tidy.
Cleaning the Inner Pot
Cleaning the inner pot of your Instant Pot is straightforward, whether you choose to use a dishwasher or wash it by hand.
If you opt for hand washing, hot soapy water and a soft brush work wonders for removing stubborn stains. Regular cleaning will help prevent the buildup of grime similar to how grout sealing protects kitchen floors from dirt and moisture. To further enhance your cleaning routine, consider sorting clothes by fabric type to ensure all surfaces are effectively cleaned.
For those tough, burned-on residues, soaking the pot first can make scrubbing a breeze. Additionally, using a vinegar and water solution can help break down any remaining food particles after soaking.
Dishwasher Safety Guidelines
When it comes to cleaning the inner pot of your Instant Pot, most models are dishwasher safe, making the process convenient.
Before placing the inner pot in the dishwasher, make sure it's free from any food residue. This step is essential to prevent clogging the dishwasher filter, ensuring ideal cleaning. For the best results, place the inner pot upside down on the bottom rack.
While using the dishwasher is a great option, avoid abrasive cleaners or scrubbers on the inner pot. These can scratch the stainless steel surface, compromising its quality.
If you encounter stubborn stains or burnt-on residue, it's best to tackle those first. Consider soaking the pot in hot soapy water or hand washing it before putting it in the dishwasher.
Always consult your manufacturer's instructions to confirm the dishwasher safety of your specific Instant Pot model, as some variations may have different guidelines.
Hand Washing Techniques
Hand washing the inner pot of your Instant Pot is a straightforward process that guarantees it stays in top shape. Follow these steps to confirm a thorough clean while preventing damage:
- Prepare soapy water: Fill your sink with hot, soapy water, using a mild dish soap. Avoid abrasive cleaners that can scratch the stainless steel surface.
- Soak if needed: If you have stubborn food residue, let the inner pot soak in the soapy water for 15 to 30 minutes. This will help loosen any burnt-on stains.
- Scrub gently: Use a soft-bristled brush or a non-scratch pad to scrub the inner pot. This will effectively remove food residue without damaging the stainless steel.
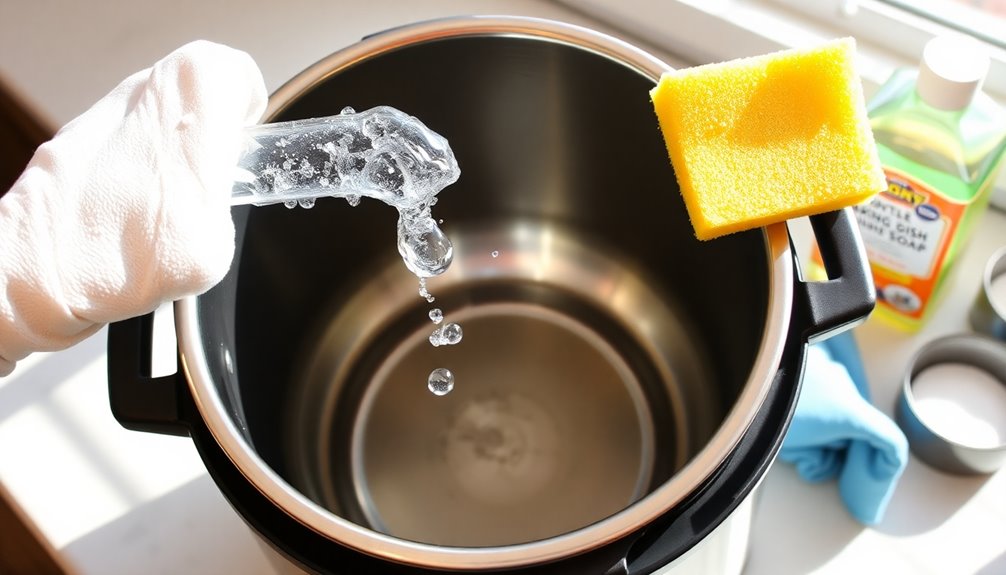
- Rinse and dry: After washing, rinse the inner pot thoroughly.
To eliminate discoloration, pour a bit of white vinegar, let it sit for five minutes, then rinse again. Confirm it's completely dry to prevent water spots and maintain its shine.
Stain Removal Methods
After ensuring your Instant Pot's inner pot is free of general grime through effective hand washing, addressing tougher stains becomes the next priority.
Start by soaking the inner pot in warm soapy water for 15-30 minutes. This helps loosen any stubborn residue. Once soaked, use a soft-bristled brush to scrub away the loosened stains.
For particularly tough marks, create a paste using baking soda and water. Apply this paste directly onto the affected areas and let it sit for 10-15 minutes before scrubbing.
If you notice discoloration, pour white vinegar into the inner pot and let it sit for five minutes, then rinse thoroughly to restore its shine.
If you're dealing with burnt-on food, fill the pot with a vinegar solution (1 cup vinegar and 1 cup water) and run a pressure cook cycle for five minutes. This method will help loosen the debris considerably.
Remember, avoid abrasive cleaners or steel wool on the stainless steel surface, as they can scratch and damage your pot's integrity.
With these stain removal methods, your Instant Pot will look as good as new!
Washing the Lid
Cleaning the Instant Pot lid is essential for maintaining its performance and ensuring your meals taste great. To make the process efficient, follow these steps for washing your lid:
- Remove the silicone sealing ring and all detachable components, like the steam release cover and anti-block shield.
- Wash by hand using warm, soapy water, or if your lid is dishwasher-safe, place it on the top rack for a thorough clean.
- For tough stains or mineral deposits, mix equal parts vinegar and water. Let this sit on the affected areas for 30 minutes before scrubbing with a soft cloth or sponge. Using vinegar is effective because it has natural cleaning properties that help dissolve tough residues. Additionally, using a vinegar and water solution can help prevent future build-up.
- Regularly check the steam release valve and float valve for any food particles, ensuring they're clear for proper functioning.
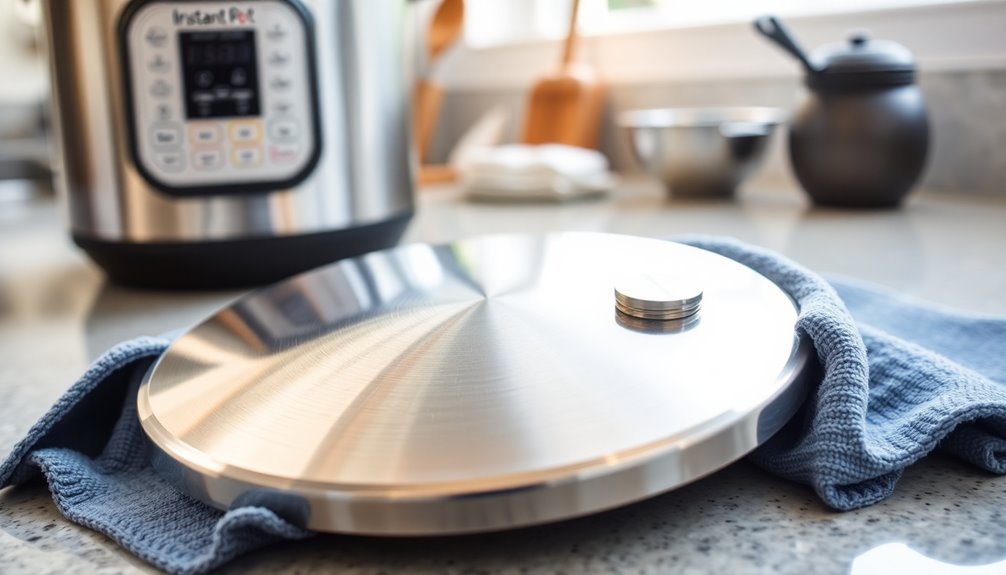
After cleaning, store the lid upside down on the cooker base. This allows for air circulation and helps prevent odors from building up. Additionally, using eco-friendly cleaners like Humble Suds can enhance your cleaning routine while being gentle on the environment.
Disassembling Lid Components
To disassemble the lid of your Instant Pot, start by carefully removing the silicone sealing ring. Gently pull it off from the groove around the lid.
Once that's done, you can move on to the anti-block shield. Unscrew it clockwise to detach it, which will give you better access for cleaning the steam release valve area.
Next, lift the steam release handle and pull it away from the lid to remove it. This step helps you access the internal components for a thorough clean. Regularly cleaning these components can help maintain optimal performance for your Instant Pot. Additionally, using EPA-certified disinfectants on these components can further ensure their hygiene.
For a complete disassembly, you'll need to take out the float valve as well. Press it from the inside of the lid to free it from its position.
After disassembling all these components, make certain to wash them in warm, soapy water. This will help remove any food residues and guarantee they're hygienic. Additionally, ensure you are regularly cleaning the steam release valve to maintain optimal performance.
Once cleaned, let them air dry completely before you start to reassemble the lid. Properly disassembling and cleaning these parts is essential for maintaining the functionality of your Instant Pot.
Cleaning the Sealing Ring
When it comes to keeping your Instant Pot in top shape, you can't overlook the importance of cleaning the sealing ring. This ring is essential for maintaining a proper seal during cooking, so let's make certain it stays fresh and functional.
Follow these steps for cleaning the sealing ring effectively:
- Detach and Inspect: First, detach the sealing ring from the lid according to the manufacturer's instructions. Inspect the sealing ring for any food residue or damage.
- Wash the Sealing Ring: You can wash the sealing ring by hand using mild dish soap and warm water, or place it on the top rack of the dishwasher for a thorough clean.
- Odor Removal: For odor removal, mix one cup of water with one cup of white vinegar. Run the Pressure Cook cycle for five minutes with the sealing ring installed.
- Rinse and Dry: After cleaning, rinse the sealing ring thoroughly to verify no soap or vinegar residue remains. Air dry completely before reattaching it.
Regularly inspect the sealing ring for cracks or wear, and consider keeping a spare on hand to maintain peak sealing performance during cooking.
Cleaning Accessories

After each use, keeping your Instant Pot accessories clean is vital for peak performance and longevity. Start with the condensation collector; rinse it under warm water to prevent buildup of grease and food particles. It's dishwasher safe, so you can toss it in for convenience.
Regularly wash the steam rack and any other cleaning accessories in warm, soapy water or place them in the dishwasher as well.
Don't forget to detach the sealing ring. Wash it in hot, soapy water or on the top rack of the dishwasher. This helps maintain freshness and prevent odors.
For smaller parts like the steam release valve and anti-block shield, use a soft-bristled brush or an old toothbrush. This will guarantee thorough removal of food particles that can cause issues down the line.
Once you've cleaned everything, make sure all accessories are completely dry before reassembling them. This step is vital to prevent mold growth and maintain the best performance of your Instant Pot.
Wiping the Instant Pot Base
To keep your Instant Pot looking great, you'll need some essential cleaning supplies before you start.
Unplug the pot and gather a damp microfiber cloth and a small brush for those tricky spots.
With these tools in hand, you can easily follow a step-by-step wiping process to maintain its appearance.
Essential Cleaning Supplies
A few essential cleaning supplies can make maintaining your Instant Pot base a breeze. Keeping your Instant Pot clean not only helps it look good but also guarantees it functions properly.
Here are four items you'll need for effective cleaning:
- Damp Cloth or Microfiber Cloth – Use this to wipe the exterior of the Instant Pot, guaranteeing it's free from crumbs and spills after each use.
- Mild Dish Soap – Mix this with warm water to create soapy water for cleaning tougher stains.
- Soft Sponge – Gently scrub any stubborn spots with a soft sponge, avoiding abrasive materials that could scratch the surface.
- Soft Brush or Toothbrush – Regularly inspect it carefully around the heating element and rim for any food residue, using this tool to reach those tricky areas.
Don't forget to unplug the Instant Pot and allow it to cool completely before you start cleaning. This guarantees safe cleaning and prevents any burns.
With these cleaning supplies on hand, you'll keep your Instant Pot looking and performing great!
Step-by-Step Wiping Process
Cleaning your Instant Pot base is essential for maintaining its performance and appearance. First, make sure it's unplugged and completely cooled down.
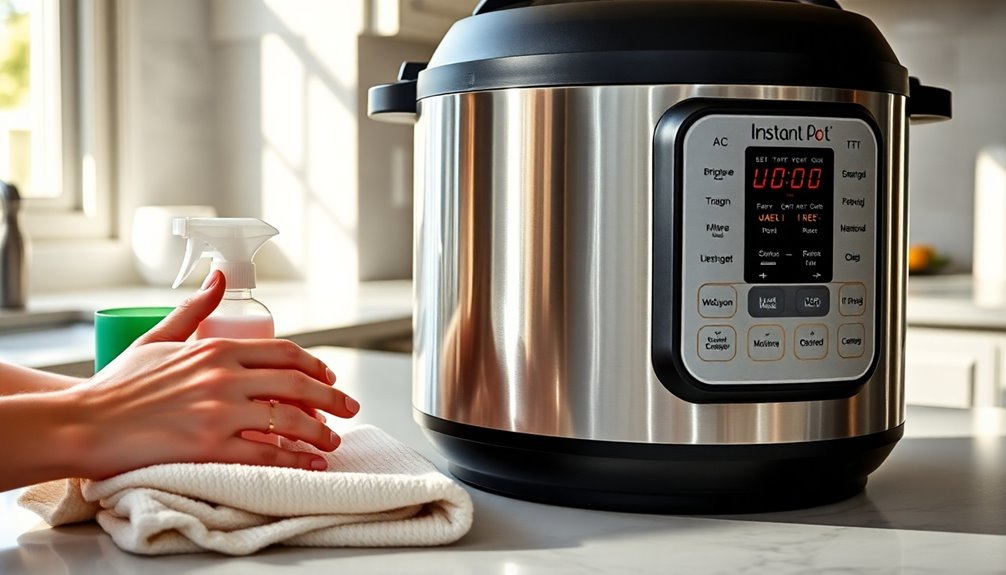
Grab a damp cloth to clean the exterior surfaces, focusing on any visible food splatters or stains. For tougher spots, mix some mild dish soap with warm water. Use a non-abrasive sponge to gently wipe those areas, ensuring you don't scratch the stainless steel liner.
Pay special attention to the rim and around the heating element. These spots can accumulate little parts of food, so using a small brush or toothbrush can help reach those crevices effectively.
Once you've wiped down the exterior, rinse your sponge, and go over the cleaned areas again to remove any soap residue.
After you're done, dry completely before putting the Instant Pot away. A clean, dry base not only looks better but also prevents water spots and keeps moisture from affecting the unit's components.
Maintaining the Exterior
Maintaining the exterior of your Instant Pot is essential for both its appearance and longevity. A clean appliance not only looks good but can also improve performance over time.
Here's how to keep your Instant Pot's exterior in tip-top shape:
- Regular Wiping: Wipe it clean with a damp cloth after each use to remove crumbs and splatters.
- Tough Stains: For stubborn stains, mix mild dish soap with warm water. Be sure to avoid excess moisture around the buttons and controls.
- Restore Shine: If you have a stainless steel exterior, use white vinegar or a stainless steel cleaner to restore shine and prevent water spots.
- Dry Thoroughly: After cleaning, verify the exterior is dried thoroughly to avoid streaks and maintain the appliance's overall appearance.
Additionally, don't forget to check the area around the heating element regularly. Cleaning this area prevents the buildup of grease and food particles that can affect performance.
Deep Cleaning Techniques
Deep cleaning your Instant Pot is essential for keeping it in prime condition, especially after heavy use.
Start by tackling the inner pot. Fill it with a mixture of 2 cups of water and 1 tablespoon of baking soda, then run a Pressure Cook cycle for 4 minutes. This helps to eliminate tough stains and odors effectively.
Next, soak the inner pot in a solution of warm soapy water and white vinegar for at least 30 minutes to remove burnt-on residue and stubborn discoloration.
Disassemble the lid by removing the steam release handle, silicone sealing ring, and anti-block shield. Wash all these parts in warm soapy water to guarantee thorough cleaning.
For any remaining stains, use a damp magic eraser to scrub the inner pot gently, preserving its stainless steel surface.
Don't forget to regularly clean the steam release valve and float valve with warm, soapy water to prevent buildup and maintain peak functionality during cooking.
Odor Removal Tips
After giving your Instant Pot a thorough deep clean, it's important to tackle any lingering odors that might remain. Here are some effective odor removal tips to keep your appliance smelling fresh:
- Sealing Ring Soak: Soak the sealing ring in a mixture of one cup of water and one cup of vinegar. After soaking, run the Pressure Cook cycle for five minutes and rinse thoroughly to eliminate odors.
- Baking Soda Treatment: For persistent smells, place the sealing ring in a Ziploc bag with baking soda overnight. This will help absorb those stubborn odors.
- Condensation Collector Care: Regularly clean and empty the condensation collector after each use. This prevents buildup that can cause unpleasant odors.
- Lemon Rind Steam Cycle: To deodorize your Instant Pot, place lemon rind in the pot with water and run a steam cycle. This not only helps with odor removal but also leaves a revitalizing scent behind.
Regular Maintenance Practices
Keeping your Instant Pot in top condition is essential for both performance and longevity. To achieve this, you should adopt regular maintenance practices after each use.
Start by cleaning the inner stainless steel pot and sealing ring to prevent odors and residue buildup that can affect cooking performance. Wipe the exterior and control panel with a barely damp cloth to remove spills and debris, guaranteeing your appliance stays looking good and functions well.
Periodically, inspect and clean the steam release valve and float valve. This guarantees they're clear of food particles and working properly. Additionally, store the sealing ring separately from the Instant Pot to avoid any odor transfer, keeping it fresh for various types of cooking.
Don't forget to schedule a deep cleaning session each month. This should include soaking the inner pot and scrubbing the lid components to maintain hygiene and extend your appliance's lifespan.
Conclusion
Now that you know how to clean your Instant Pot quickly and efficiently, it's time to put these tips into action. You might've heard that a clean kitchen appliance can actually enhance your cooking experience—there's truth to that! A spotless Instant Pot not only looks great but helps guarantee your meals taste their best. So, make cleaning a regular habit, and you'll enjoy cooking even more. Happy cooking, and don't forget to keep that pot sparkling!