You're about to master the art of using your vacuum cleaner! Start by preparing your vacuum properly, checking the power source, dust bag or canister, and adjusting the height settings. Next, choose the right attachment for the task at hand, whether it's a crevice tool or upholstery brush. Clear clutter and obstacles, then divide the space into sections to guarantee thorough coverage. Vacuum in overlapping strokes, using the right attachment for the job. From there, you'll learn how to tackle hard-to-reach areas, empty the dustbin and filter, store your vacuum, and perform regular maintenance. Now, get ready to take your cleaning skills to the next level!
Prepare the Vacuum Cleaner Properly
Before you start vacuuming, make sure you've properly prepared your vacuum cleaner by checking its power source, dust bag or canister, height settings, and attachments. You don't want to waste time and energy on a vacuum that's not functioning correctly.
Make certain the vacuum cleaner is plugged in and the power switch is turned on before starting. Check that the dust bag or canister is properly attached and empty for efficient suction. If you're about to clean hardwood floors, adjust the height settings accordingly to get the best results.
Additionally, consider the specific cleaning task at hand. For instance, if you're dealing with pet hair, you might need to use a specific attachment or tool to remove stubborn hair efficiently. Take a moment to familiarize yourself with the controls and settings of the vacuum cleaner to customize your cleaning experience.
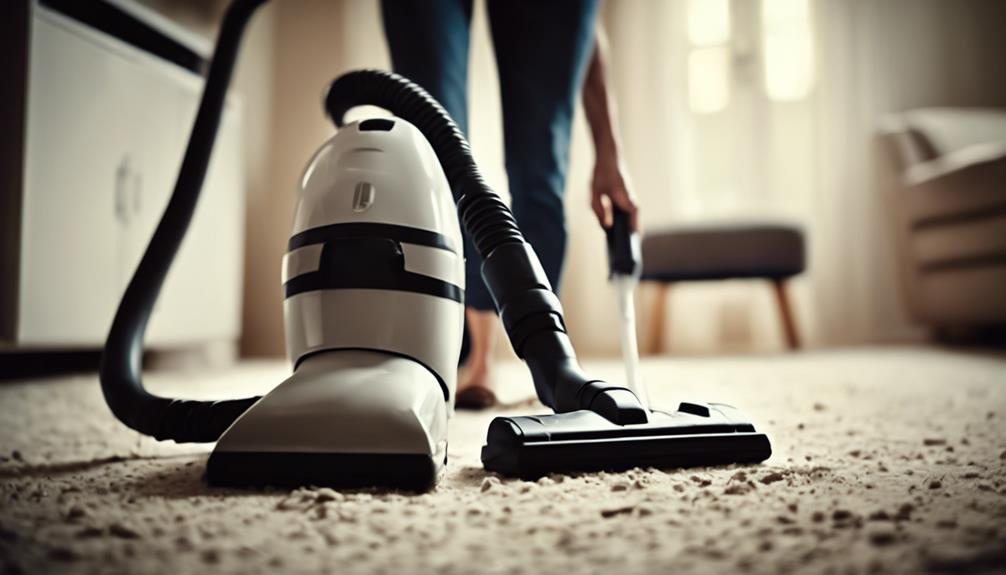
Choose the Right Vacuum Attachment
You'll need to select the right vacuum attachment for the task at hand to get the best possible cleaning results. Different attachments are designed for specific tasks, and using the wrong one can lead to subpar cleaning or even damage to your vacuum or surfaces.
For tight spaces like corners and edges, you'll want to use the crevice tool. This attachment is perfect for getting into tight spaces and removing dirt and debris that can accumulate in these areas.
If you're cleaning furniture, curtains, or delicate fabrics, the upholstery brush is your best bet. This attachment is gentle on surfaces while still providing a deep clean.
For other tasks, you may need to switch to a different attachment. For example, the dusting brush is ideal for cleaning shelves, blinds, and other surfaces.
If you have pets, the turbo brush is a must-have for removing pet hair and debris from carpets and upholstery.
Remove Clutter and Obstacles
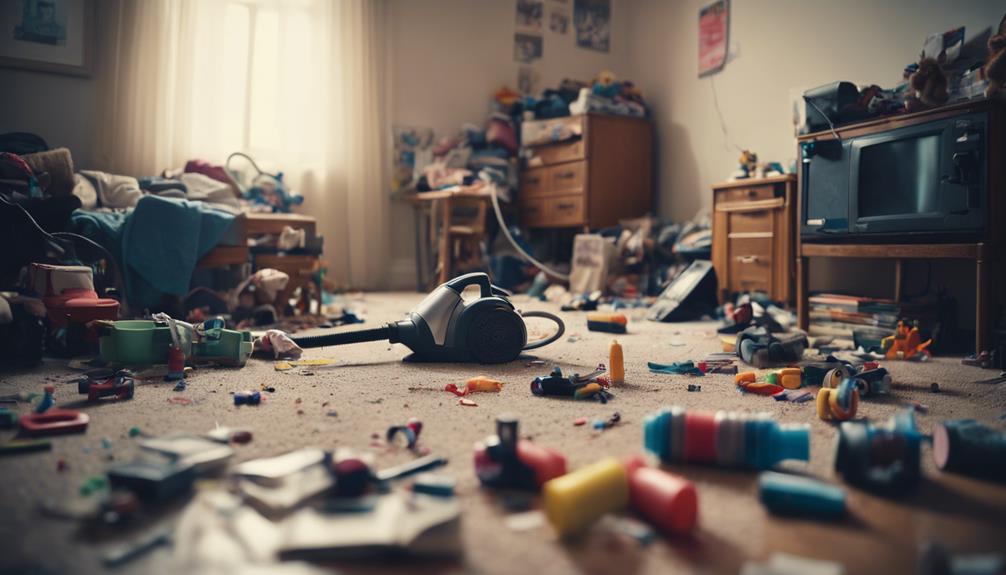
Clear the floor of clutter, cords, and small items that could get tangled in the vacuum or cause damage, and move obstacles out of the way to ensure a smooth and efficient cleaning process. This step is essential in maximizing the effectiveness of your vacuum cleaner. You'll be able to push the vacuum forward with ease, catch every speck of dust and dirt, and avoid any potential blockages.
Even though it may seem like an extra chore, taking a few minutes to clear the floor will save you time and frustration in the long run. Check for toys, papers, or other items that could get sucked into the vacuum and cause blockages.
Move furniture or obstacles out of the way, and pick up rugs or mats that could get tangled in the vacuum's path. By doing so, you'll be able to vacuum with confidence, knowing that you've created a clutter-free environment that allows your machine to work at its best.
Divide the Space Into Sections
Now that you've cleared the floor of clutter and obstacles, it's time to divide the space into manageable sections to guarantee a thorough and efficient cleaning process. This is where the divide and conquer method comes into play. By breaking down the space into smaller areas, you can focus on one section at a time, ensuring that every inch of your floor gets the attention it needs.
Here are some benefits of dividing your space into sections:
- Improved efficiency: Sectional cleaning benefits include saving time and energy by concentrating on one area at a time.
- Thorough coverage: Space segmentation techniques help you cover the entire space effectively, preventing missed spots.
- Better organization: Divide your space into sections to stay organized and maintain a structured cleaning routine.
- Enhanced tracking: By dividing the space, you can track your progress and make sure that every area has been thoroughly cleaned.
Vacuum in Overlapping Strokes
Now that you've divided the space into sections, it's time to vacuum in overlapping strokes to guarantee a thorough clean.
You'll want to focus on creating overlapping patterns, using efficient stroke techniques, and planning a cleaning path strategy to get the job done effectively.
Overlapping Patterns Matter
When vacuuming, work in overlapping strokes to guarantee a thorough cleaning, as this technique assures you'll cover the entire area of your carpet or rug. This method prevents missing spots and ensures a thorough dirt and debris removal.
Overlapping patterns also help lift the nap of your floor covering, allowing your vacuum to pick up more dirt effectively. By incorporating this technique into your cleaning routine, you'll maintain the cleanliness and appearance of your carpets and rugs.
Here are some benefits of overlapping patterns:
- Thorough cleaning: Make sure you're covering the entire area for a deeper clean.
- Dirt removal: Pick up more dirt and debris with each pass.
- Nap lifting: Improve the appearance of your carpets and rugs by lifting the nap.
- Efficient cleaning: Achieve a deeper clean with less effort by overlapping your strokes by 50%.
Efficient Stroke Techniques
As you vacuum in overlapping strokes, you'll find it's easier to maintain a consistent pace, ensuring a thorough cleaning without missing a spot. This technique is especially effective for high-traffic areas or heavily soiled carpets, where dirt and debris tend to accumulate.
By using overlapping strokes, you'll achieve best coverage, picking up every last bit of dirt and dust. This method also helps you maintain speed efficiency, as you'll be able to cover more ground without having to re-vacuum the same area multiple times.
To master this technique, focus on making consistent, smooth strokes, overlapping each pass by about half the width of the vacuum. This will help you maintain a steady pace and prevent missing any spots.
Additionally, try incorporating some maneuvering tricks, such as turning the vacuum at a 45-degree angle to get into tight spaces or using slow, deliberate strokes to tackle stubborn stains.
Cleaning Path Strategy
You'll achieve a more thorough clean by vacuuming in overlapping strokes, starting from the far edge of the carpet and pushing the vacuum forward in a straight line to lift the nap of the floor covering. This technique guarantees maximum coverage and efficient patterns, allowing you to pick up dirt and debris effectively.
To master the cleaning path strategy, follow these steps:
- Vacuum in straight lines: Start from the far edge of the carpet and push the vacuum forward in a straight line.
- Overlapping rows: Slowly pull the machine back in overlapping rows by 50% for thorough cleaning.
- Change direction: Vacuum in two directions by moving up and down in rows and then turning 90 degrees to vacuum side-to-side.
- Cover all areas: Use a robot vacuum for quick and efficient cleaning, especially in larger areas.
Change Vacuum Direction Frequently
To guarantee a thorough cleaning, change your vacuum direction frequently to prevent missing spots and cover all areas evenly.
As you vacuum, it's crucial to alternate directions to make sure dirt and debris are lifted from different angles, improving overall dirt removal.
This technique is particularly important when vacuuming carpets and rugs, as rotating the vacuum in various directions prevents patterns from forming and guarantees a more extensive clean.
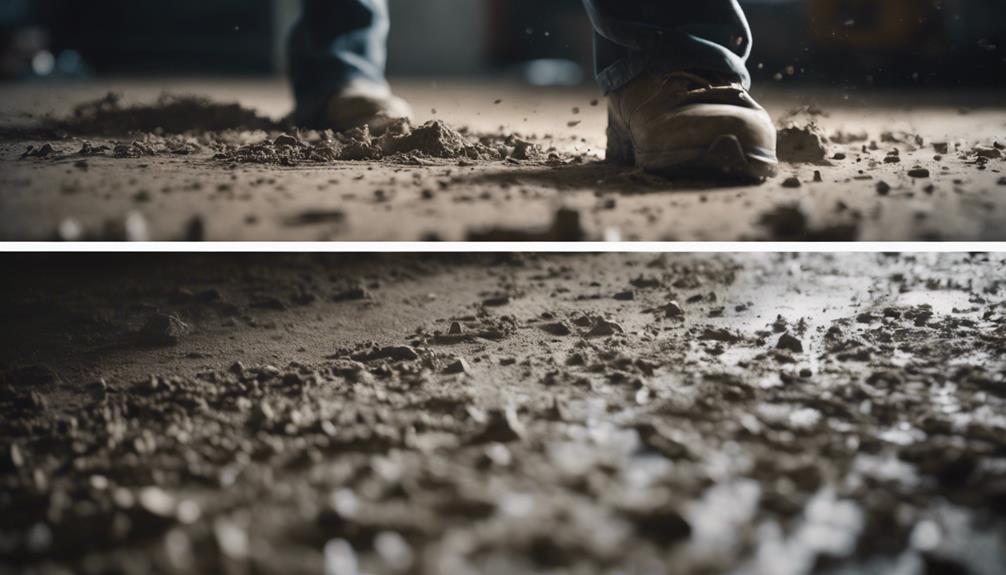
Clean Hard-to-Reach Areas Effectively
When cleaning hard-to-reach areas, start by identifying the spaces that require special attention, such as narrow gaps between furniture or appliances. These areas often accumulate dirt and dust, making them a breeding ground for allergens and germs.
To tackle these areas efficiently, utilize the following attachments:
- Crevice tool: Reach narrow gaps between furniture or appliances with ease.
- Dusting brush: Clean shelves, baseboards, and ceiling corners with precision.
- Extended hose: Vacuum under furniture, behind radiators, or in tight spaces with extended reach.
- Upholstery tool: Vacuum curtains, sofas, and car interiors with ease.
Empty the Dustbin and Filter
Now that you've tackled those hard-to-reach areas, it's time to empty the dustbin and filter to keep your vacuum running smoothly.
You'll need to prepare the dustbin for emptying, follow the correct steps to clean the filter, and learn the proper procedures for emptying the dustbin to guarantee peak performance.
Dustbin Preparation
Empty the dustbin completely before starting to vacuum to prevent clogging and maintain peak suction power. You don't want any leftover debris hindering your cleaning session.
To guarantee efficient vacuuming, it's vital to prepare your dustbin properly. Here are some essential tips to keep in mind:
- Empty the dustbin after each use to prevent odors and maintain the efficiency of your vacuum cleaner.
- Clean the dustbin regularly to prevent dust buildup and maintain air quality.
- Check the manufacturer's recommendations for filter maintenance to make sure proper functioning of your vacuum.
- Regularly clean or replace the filter to improve air quality and prevent dust buildup in the vacuum.
Filter Cleaning Steps
You'll guarantee peak performance by cleaning or replacing the filter according to the manufacturer's schedule, as a neglected filter can greatly reduce suction power.
Regular maintenance of the filter is important to maintaining top suction power. Check the filter regularly for signs of wear and tear, and clean or replace it as needed. Failure to do so can lead to a clogged filter, reducing suction power and affecting the overall performance of your vacuum cleaner.
To prevent filter clogging, make sure to clean or replace it according to the manufacturer's guidelines. This simple step can help prevent suction power loss and prolong the life of your vacuum cleaner.
Remember, filter maintenance is key to excellent performance. By following the manufacturer's schedule for filter replacement, you'll ensure your vacuum cleaner continues to perform at its best.
Proper filter maintenance tips include regular cleaning and replacement to prevent clogging and maintain top performance. By doing so, you'll enjoy improved suction power and a longer-lasting vacuum cleaner.
Emptying Procedures
Turn off your vacuum and unplug it from the power source to safely begin the emptying process. Now, it's time to empty the dustbin and filter. This important step guarantees your vacuum continues to perform at its best.
To avoid messes, carefully remove the dustbin from the vacuum. Dispose of the collected dirt and debris into a trash bin or bag. This regular dustbin maintenance prevents clogs and ensures your vacuum's suction power remains strong.
Here's a quick checklist to follow:
- Remove the dustbin carefully to prevent spills.
- Empty the contents into a trash bin or bag.
- Clean the filter according to the manufacturer's instructions.
- Reattach the dustbin and filter securely before resuming vacuuming.
Remember to handle the dustbin with care to prevent spills, ensuring a mess-free experience. Regular filter maintenance, including replacement when necessary, is also essential for top-notch performance. By following these simple steps, you'll ensure your vacuum remains in top condition, ready for its next use.
Store the Vacuum Cleaner Properly
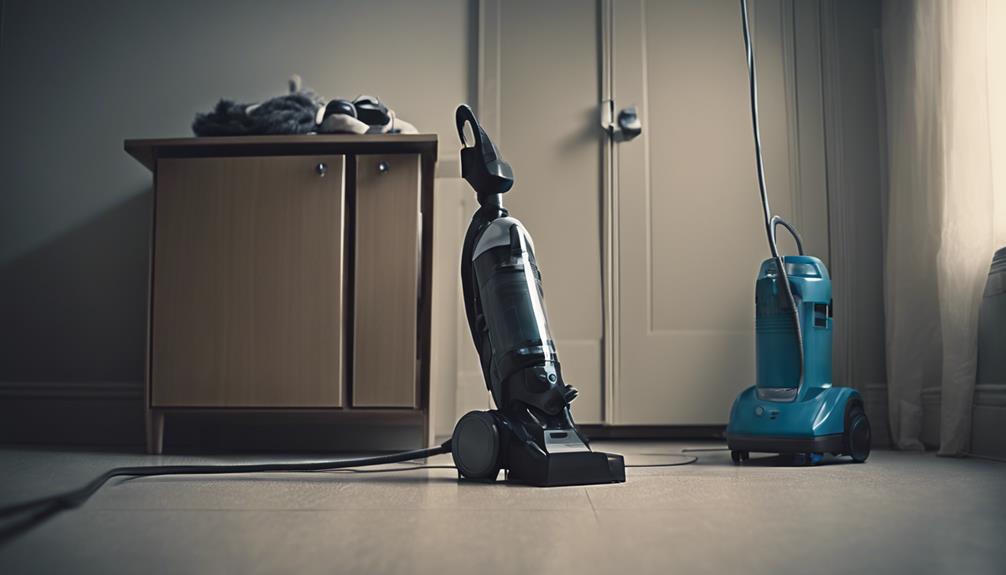
Proper storage is essential to maintaining your vacuum cleaner's performance and longevity, and it starts with selecting a dry and well-ventilated area to prevent mold and mildew buildup. This will help keep your vacuum cleaner in top condition and prevent any damage.
When storing your vacuum cleaner, make sure to keep it in a secure location to avoid accidents or damage. You should also wrap the power cord neatly to prevent tangles and damage. Avoid storing your vacuum cleaner near heat sources or direct sunlight, as this can cause damage to the components.
Proper storage techniques are vital in preventing vacuum damage. Consider using a designated storage area or closet to keep your vacuum cleaner organized and easily accessible. This will also help you maintain a clutter-free space and ensure that your vacuum cleaner is always ready for use.
Perform Regular Vacuum Maintenance
To keep your vacuum cleaner running efficiently, regular maintenance is essential, and it starts with emptying the dust canister after each use to maintain peak suction power and cleaning efficiency. By doing so, you'll guarantee your vacuum continues to pick up dirt and debris effectively.
Here are some additional maintenance tasks to perform regularly:
- Clean the brushes and bristles: Remove any trapped hair or fibers to make sure effective dirt and debris pickup.
- Clear out the dust canister: Sweep up every crumb and debris to prevent clogs and blockages.
- Check and replace filters: Regularly inspect and replace filters as needed to prolong the life of your vacuum and maintain consistent suction power.
- Perform brush maintenance: Regularly clean and maintain the brushes to ensure they continue to pick up dirt and debris effectively.
Conclusion
As you put away the vacuum cleaner, you can't help but feel a sense of accomplishment. Coincidentally, your living room now looks and feels like a totally different space. You've mastered the art of vacuuming in 10 easy steps!
From preparing the vacuum to performing regular maintenance, you've got it down pat.
Now, take a step back, admire your handiwork, and enjoy the feeling of a job well done. You've earned it!